Showing posts with label Cake Decorating. Show all posts
Tuesday, July 30, 2013

Vanilla Bean Cheesecake


Today is National Cheesecake Day... seriously, who can think of a better "holiday"? I love cheesecake! It's so versatile and can pretty much be made into any flavor. I brought this particular version to a one of my husband's family functions and it was a hit. My father-in-law said it was the best cheesecake he had ever had! I found this recipe here and knew I had to try it. Let me warn you.... this recipe takes some effort and time, but the end product is TOTALLY worth it. It's a monster (so is this post) with 4 layers of yummy goodness and the calories to match but SO GOOD. It's modeled off of The Cheesecake Factory so buying it there would cost about $50. You can make it yourself for about $10! This recipe is adapted from The Inner Gourmet.

This recipe uses 2 vanilla bean pods. If you buy these at Walmart, its $10 for only two of them, YIKES! I would not recommend this. I bought a package of 50 of them for about $25 on Amazon which is a much better price. Now you ask me, what am I going to use that many vanilla bean pods for? I agree, that's a lot of cheesecakes! I use them for much more than just the cheesecake, from making vanilla extract to ice cream. They are really awesome BUT if you don't want to have to go through using them, just increase your vanilla extract by 1/2 tsp. and leave the vanilla bean pods out.

Ingredients:
Crust:
-1 1/2 cup crushed graham crackers (This is about 1 package and can be crushed in a food processor or in a zip lock bag by hand)
-1/4 brown sugar
-1 stick of butter, softened
-1 egg yolk, slightly beaten (I sometimes omit this and it works out fine)
-1/4 tsp. vanilla extract
Cheesecake:
-16 ounces cream cheese (2 packages), softened
-1 cup sour cream
-2 Tbsp. corn starch
-1 cup sugar
-2 sticks of butter (I use 1 unsalted and 1 salted), softened
-1/2 tsp. vanilla extract
-vanilla beans from one pod (or substitute 1/2 tsp. of vanilla extract)
White Chocolate Mousse:
-1 cup whipping cream
-3 Tbsp. powdered sugar
-4 ounces Neufchatel cheese, softened
-5 ounces White chocolate
Vanilla Bean Whipped Cream:
-1 cup whipping cream
-3 Tbsp. powdered sugar
-vanilla beans from one pod
Optional garnish:
-1-2 ounces milk or dark chocolate

To make the crust, crush up your graham crackers in mix them together with other ingredients. Next grab your pan, I always use a 10 inch spring form pan because I have found it to work the best. If you don't have one, I HIGHLY recommend them! Line your spring form pan with foil and then pour your crust mixture in the bottom. Spread it out so that it evenly covers the bottom. Bake at 375 for 6-8 minutes. Remove from the oven and let cool while you are mixing up the cheesecake.


Now in a large bowl, combine your cream cheese and butter and mix until combined. Next add in your sour cream, corn starch, sugar, and vanilla extract and mix until combined. Finally, add in your vanilla bean. To remove the inside, slice the pod with a knife down the center and inside you will see the little vanilla beans. Scrap them out with either your knife or a spoon and add them into your cheesecake mixture. Mix until combined, you should be able to see the little black beans mixed throughout. See below for pictures (sorry they are dark!)!


Now pour your cheesecake onto your crust and bake at 325 for about 1 hour or until the top is light brown.


Once done, let it cool completely. If you don't, your mousse will deflate during the next step. I usually make the crust and cheesecake the night before and then make the last two layers (mousse and whipped cream) the next morning.

Once your ready to make your mousse, beat your whipping cream in a small/medium bowl until stiff peaks form. You will have stiff peaks when you can lift your mixer out of the bowl (turned off of course!) and the peaks it makes stay in place. Add in your powdered sugar and mix until combined. In a different bowl, melt your white chocolate in the microwave 30 seconds at a time until melted. Add you neufchatel cheese into your chocolate and beat until combined. This should do a lot to cool down you chocolate but if its still even the slightest bit warm, stick your chocolate mixture back in the fridge to cool. If it's even the slightest bit hot it will deflate your whipped cream! Once cool, combine your whipped cream and chocolate mixture together with a mixer and then pour over your cooled cheesecake. Stick this back in the fridge while you are making your garnish and whipped cream.

 
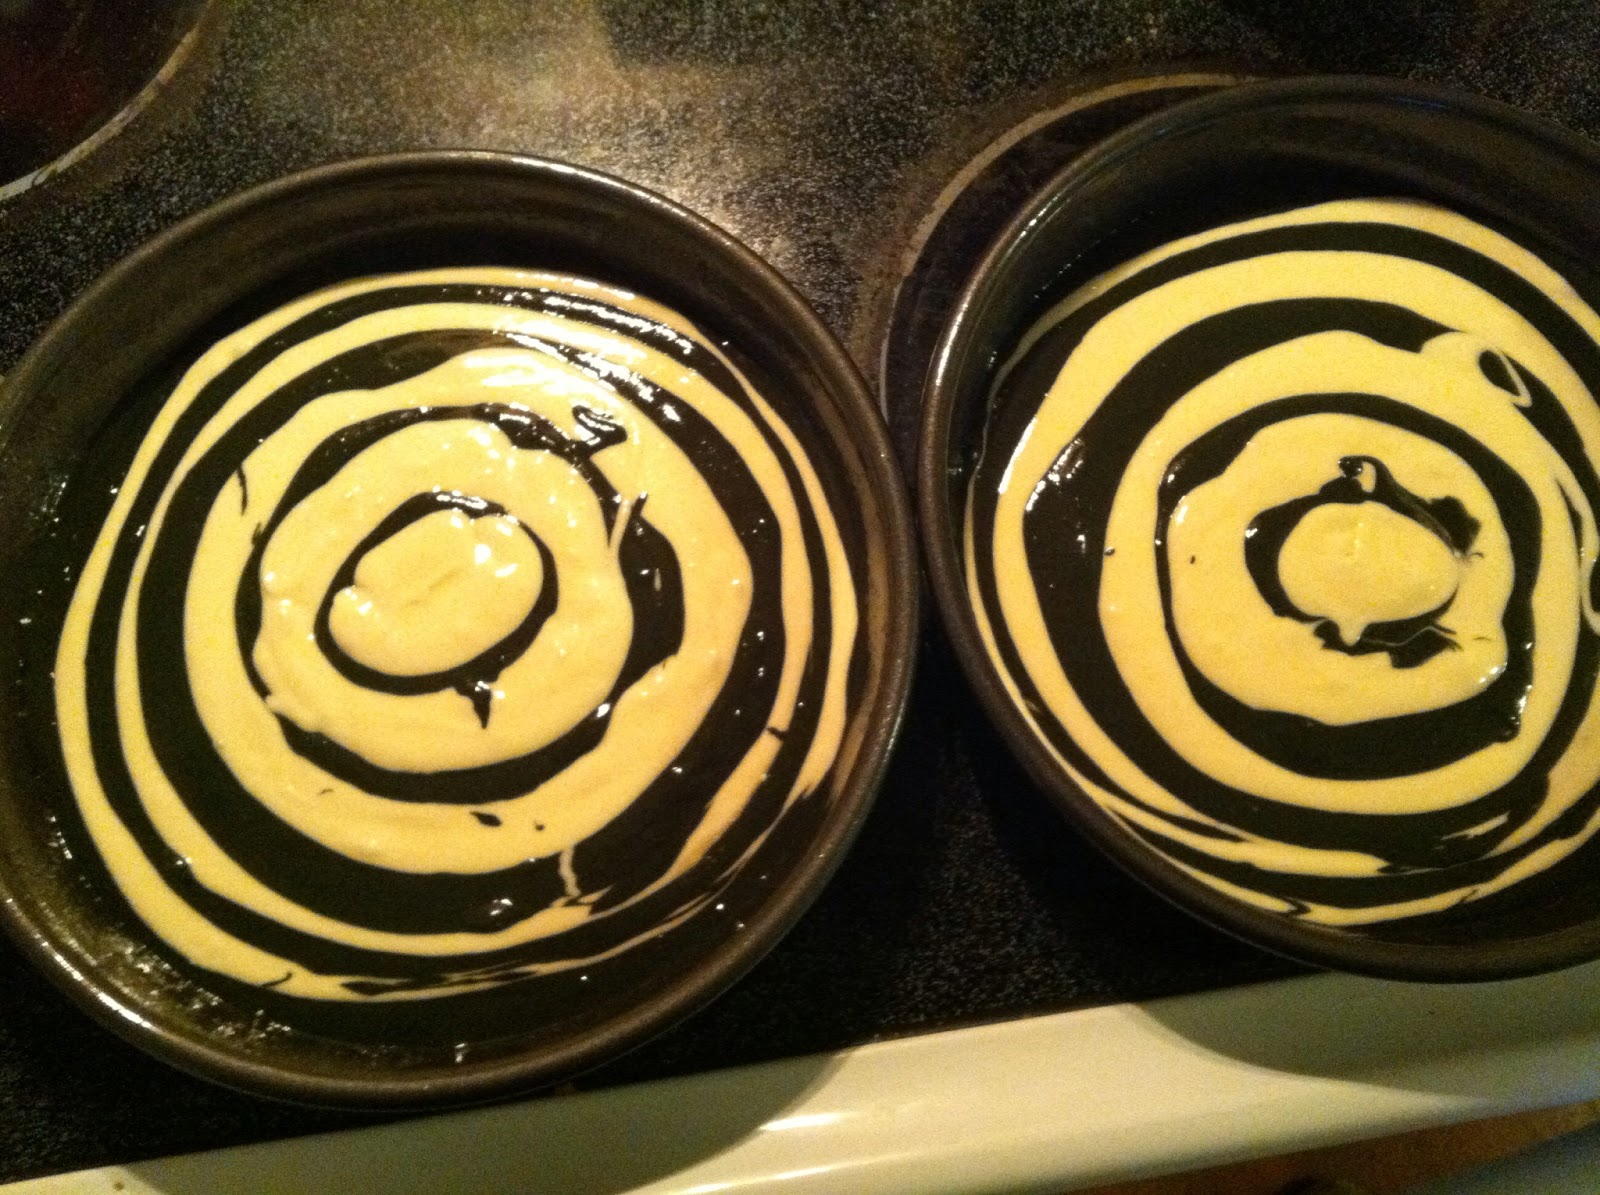
Now, it's time for the garnish! this part is optional but make your cheesecake look so much better. Seriously, the first time I made this, someone thought it was professional. :) Heat your milk or dark chocolate in the microwave for 30 seconds at a time until melted. Pour it into a zip lock bag and cut the tip of the end off. Squeeze your bag and make vertical and horizontal lines on top of the mousse. This part is hard to describe in words so just look at the pictures below!
 

Don't worry about messing this part up, just have fun with it! Now time to make the vanilla bean whipped cream (don't worry, you are almost done!). In a small/medium sized bowl, beat your whipping cream until stiff peaks form (same thing you did earlier). Then, add in your powdered sugar and your vanilla beans (same way you did earlier) and mix until combined. Grab a large (gallon sized) zip lock bag and pour your whipped cream in it. For tips on how to do this, see this post. Cut the tip off the corner of the bag and pipe your whipped cream around the edges of the cheesecake. This part is kind of like the chocolate, you can't mess is up so just have fun with it. I usually just pipe it on randomly until I run out of whipped cream. Check out the picture below!


Now, stick it in the fridge until you are ready to serve it. Once ready, serve right out of the pan or remove the edge of your spring form pan and foil.


Can you say YUM?!?!? I hope you enjoy this AMAZING dessert!
 
 
Thursday, February 28, 2013

Red Velvet Ice Cream Cupcakes


Hey everyone! I'm SO excited to share this with you today! I feel like it has been awhile since I posted and this post is something I have been pretty excited about! It combines all my favorite things; red velvet cake, ice cream, whipped cream, cake, and sprinkles!!! I know what you're thinking... that is going to be WAY to sweet for me. It's actually not! This dessert is just the right amount of sweetness! AND, the best part is, you can store it in your freezer. They keep in your freezer for quite a while so you will pretty much always have some dessert on hand. :)

I got the idea for this recipe from Rachel at Bubbly Nature Creations. She has quite a few different varieties of ice cream cupcakes so I thought I'd try my hand at one. I must say, they turned out awesomely! I made two different varieties and used a special ingredient from Hobby Lobby. Don't worry, if you don't have a Hobby Lobby in your area, I have included directions on how to make it without this ingredient.

Ingredients:
-Devils Food Cake Mix*
-Ingredients to make cake (on back of box)
-Red Velvet Emulsion (Found at Hobby Lobby)*
-1 Gallon Vanilla or Vanilla Bean Ice Cream
-Homemade Whipped Cream Ingredients (Heavy Cream & Powdered Sugar)
-Sprinkles

Supplies:
-2 cupcake pans
-24 foil cupcake liners

*If you don't want to use the Red Velvet Emulsion, you can just buy Red Velvet Cake mix instead! I would definitely recommend the emulsion though, it makes everything so much more red velvety. :)

To start off, preheat your oven to 350. Mix your devils food cake mix (or red velvet) as directed on the box. Next, spoon about 1 Tbsp. of batter into 12 of your cupcake liners (1 cupcake pan). You are only trying to cover the bottom so don't put to much! Now stick these in the oven for about 15 minutes.


While those are cooking, add 2 Tbsp. Red Velvet Emulsion to the remaining cake mix (if you started with red velvet cake mix, skip this step) and stir it up. Now spoon about 1 Tbsp. of batter into your remaining cupcake liners. Once your first batch is done, stick the other cupcakes in the oven for about 15 minutes.


One both pans have cooked, set them aside to cool completely.


Once cooled, it time for the fun part....Ice cream! The ice cream needs to be somewhat soft so I would set it out for about 10-15 minutes before you work with it. To make the first version, take the pan of with the red velvet flavored cake and fill the cupcake liners the remaining way with ice cream (about 1 scoop). I used vanilla bean ice cream and it was AWESOME! :) Once filled, cover them and put them in the freezer to harden up.


Next take your remaining ice cream and mix in 2 Tbsp. red velvet emulsion. Seriously, this stuff is AWESOME, I had a few spoonfuls while I was filling my liners :) Once you make your red velvet ice cream, fill the chocolate cake liners up with ice cream just like you did before. Again, it will take about 1 scoop of ice cream per cupcake. Once your done, cover them and put them in the freezer to harden up.


While you are waiting, you can make the topping. For the cupcakes that had red velvet ice cream, I topped them with regular whipped cream. You can find the recipe for that here. For the cupcakes with vanilla ice cream, I added about 2 Tbsp. red velvet emulsion to the whipped cream recipe. Can I just say red velvet whipped cream and red velvet ice cream are my new two favorite things. :)


Once you have your whipped cream ready, top your cupcakes with it. You can do this using a Ziploc bag (see whipped cream tutorial) or of course you can use cake decorating supplies. Finally, top your lovely cupcakes with some sprinkles!


Here is a picture of your finished product, aren't they beautiful?


AND as good as they look, they taste even better!

Happy Cooking
& Enjoy!!
Tuesday, January 15, 2013

Zebra Cake

Hey Everyone! How are you all doing today?

For Christmas I asked for cake decorating supplies. This is something I have been wanting to try for awhile, and finally after getting some awesome goodies for Christmas, I was able to try. My niece was coming into town to visit for the weekend, so I decided to try out my new toys by making her a cake! It turned out pretty cute and I can't wait to try it out again.

I saw this zebra cake idea a long time ago on Pinterest and honestly have no idea where it came from, so I don't know who to give credit to. Whoever came up with this, awesome idea!

Ingredients:
-1Box white cake mix
-Black food coloring
-Ingredients from back of cake box (usually eggs, water, & oil)
-Optional: Parchment Paper

Decorating Ingredients:
-Fondant (you can buy pre-made fondant in the cake decorating section of Walmart)
-Buttercream Icing (recipe toward the bottom of the page)

TIP: If you don't want to waste your time with the black food coloring OR you want a bigger cake, use chocolate cake mix for the black stripes in the cake.

Making a Zebra Cake is actually fairly easy. It doesn't take any longer than making a regular cake and it looks pretty awesome.

To start off, preheat your oven and mix your cake mix and ingredients together as directed on box. Next, separate your cake mix into two separate bowls and add black food coloring to one of them. Use as much food coloring as you need to make it as dark as you want.


Next, set your mix aside, and grease your cake pans. I used two 9 inch round pans, and lined the bottom with parchment paper to prevent sticking. I also sprayed both pans with non-stick cooking spray. I find this method works WAY better than the Crisco/flour method.

Next, drop about 1/4-1/2 cup of batter onto the center of each pan. It doesn't matter which color you start with, but I started with black.


Next, add the same amount of white cake mix into the center of the black. Repeat this process over and over until you use all your cake mix and have a nice bullseye.


Your cake mix should spread out on its own but it may need some help from you. After every couple rounds I would tap the cake on the counter and shake it back and forth some to spread the cake out more. You want to try and have your layers over lap as little as possible! Here are my finished pans before going into the oven.


And then after coming out of the oven (Bake according to cake mix directions). You will be able to see the zebra stripes when you cut the cake for serving.


Let your cake cool completely before decorating. Once cooled, you can decorate your cake however your heart desires!

I used buttercream icing and then covered the cake with fondant. To do this, level the top of your cake layers until flat. You do this by cutting off small layers from the top until the cake is level. Here is what mine looked like leveled:


Next, frost your cake by putting icing between the layers and around the whole cake. It doesn't matter is you get crumbs in the icing because the cake will be covered in fondant.


Next, roll out your fondant (about 1/4 inch) and cover your cake in it. Cut off any excess fondant around the edges.


Doesn't that look great already? I wanted to go one step further so I added some fondant to look like ribbon and a bow. As you can see in the picture, I cut the bottom of my fondant a little short, so I added some fondant balls around the bottom to cover it up. I made these by rolling the extra fondant scraps into small balls and sticking them around the edges with some extra buttercream.


Isn't that cute? My dog REALLY wanted some cake at this point, but we had to save it for my niece.


Here is a picture of the cake once we cut into it:


Do you see those beautiful zebra stripes? Pretty cool huh? You can also make this cake into any color Zebra you want. I have made a pink and purple striped cake before.

Here is my niece enjoying the cake, I think it's safe to say it was good. :)


Happy Cooking
& Enjoy!