Tuesday, March 6, 2012

Parmesan Ranch Chicken

Ok everybody, get ready to make the easiest, best chicken recipe you have ever had! I was experimenting one day and had a thought, simplicity is best (thats where this little beauty came in). Daniel starts salivating the minute I start cooking this up so get ready!

When I say this recipe is easy, I mean it. EA-SY!

Ingredients:
-4 boneless, skinless chicken breast, thawed
-1 packet ranch seasoning
-heaping 1/2 cup Shredded Parmesan cheese (in the refrigerated section)
***Make sure to use shredded, not grated!
-zip-lock bag, gallon size

Start by preheating the oven to 350°.
Place a sheet of aluminum foil on a baking sheet and spray it with non-stick cooking spray.


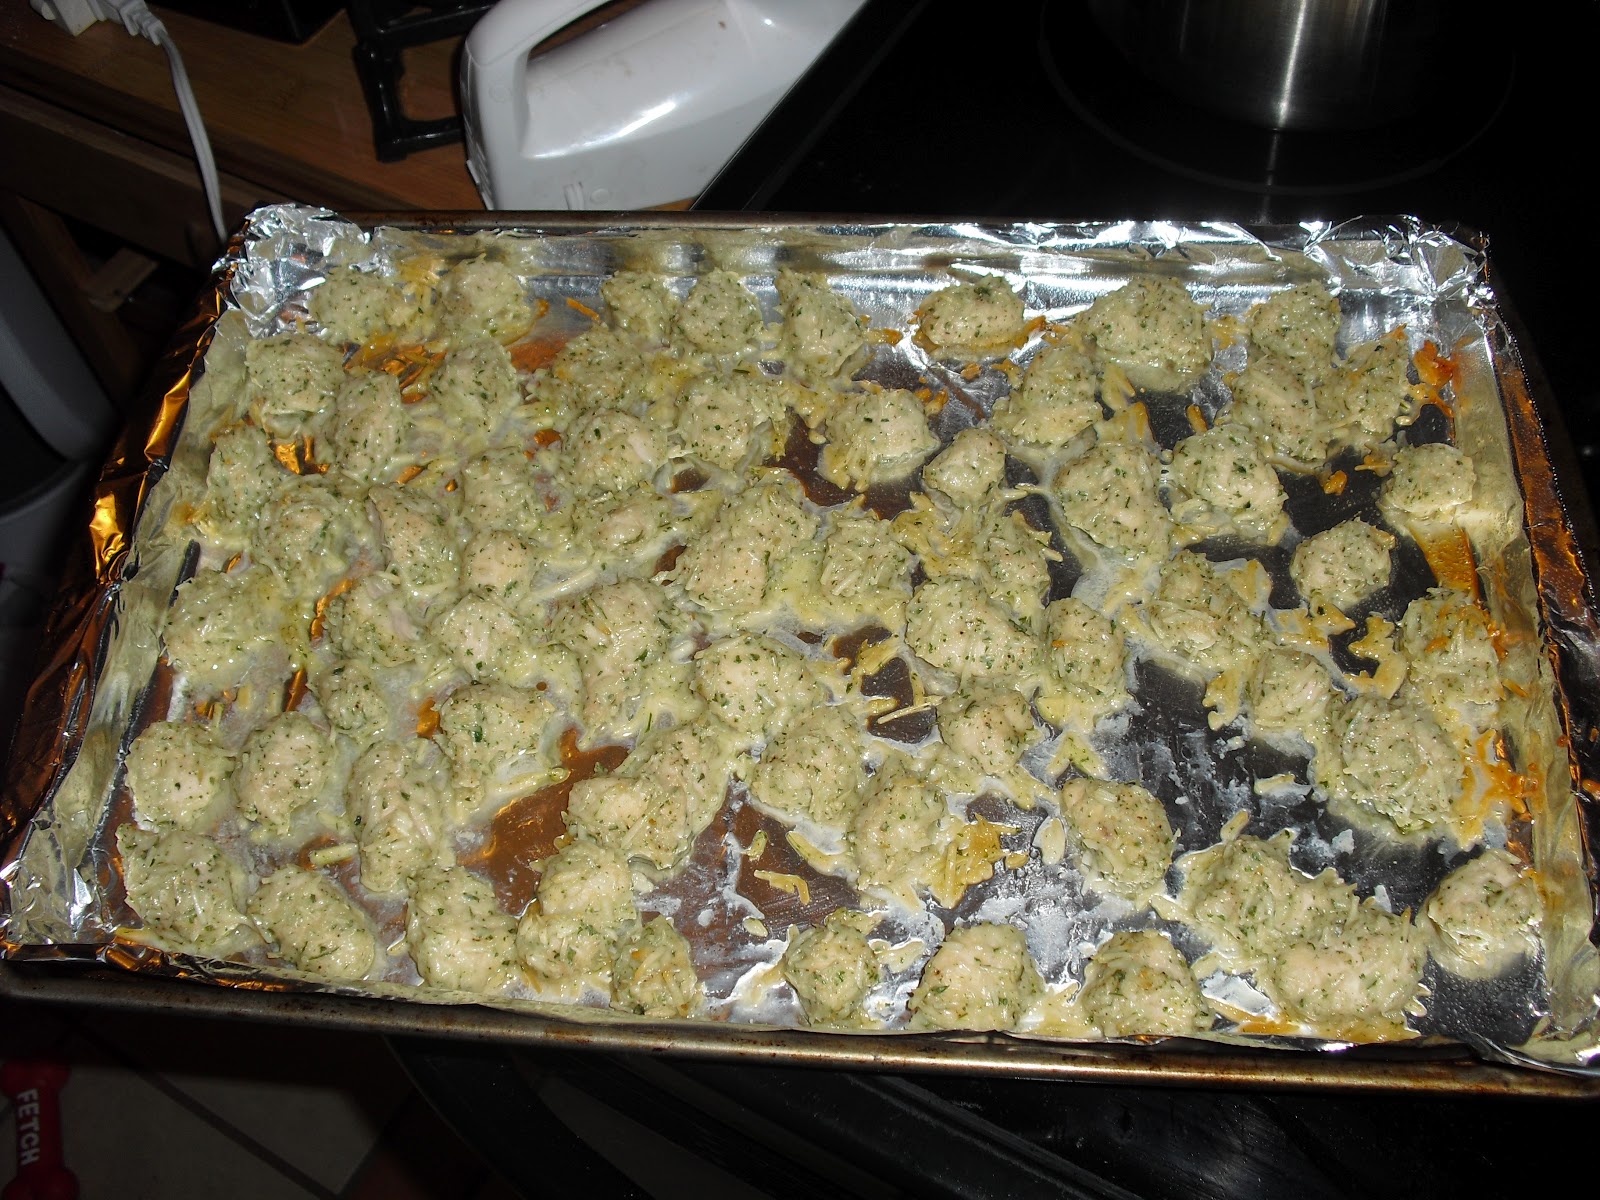
Next, cut the chicken breast into bite-sized pieces. Here is a picture of what your chicken should look like:


Next, get a zip-lock gallon sized bag and put in your ranch seasoning and parmesan cheese (make sure to use shredded parmesan cheese, not grated, the flavor is SO much better). Shake up your mixture to evenly distribute your seasonings and then add in your chicken and shake again until chicken is evenly coated. Place seasoned chicken on your baking sheet.

Finally, bake your chicken for 20 minutes and you are finished!

We usually have this as our main dish, or I will make a big salad and throw it on top. Both ways of eating it are excellent choices. :) Hope you enjoy!


Tuesday, January 31, 2012

How to: Sushi

I wanted my first post as a newlywed to be AWESOME, so I decided to go with something that often seems unreachable to a lot of people. Sushi is one of my favorite foods but also EXPENSIVE, so I only get to each it about once every two months. What is the solution to this? Making your own of course! Now let me warn you, this is my first time making sushi, so I didn't actually put anything raw in it. The most adventurous I got was imitation crab. With this post, I mostly wanted to show people how to actually roll the sushi and then people can experiment as they choose.

This roll of sushi was pretty basic, I was going for a Philadelphia-type roll. All of the ingredients are available at Wal-Mart, with the exception of 1, the bamboo scroll.

Ingredients:
-sushi rice (Asian food section)
-Seaweed Sheets (Asian food section)
-Imitation Crab (or whatever fish you choose)
-cucumber
-cream cheese (you can substitute Neufchatel cheese here if you choose, it has 1/3 less fat than regular cream cheese and tastes exactly the same)
-Bamboo Scroll (Available at food/kitchen stores & online, cost is about $9)
-Plastic wrap


Here are some suggestions of other things you can include in your roll depending upon your taste preferences.
-avocado
-jalapeƱo
-wasabi (Asian food section)

Cook your sushi rice according to the directions on the back of the package and then place in the refrigerator to cool for about 20 minutes. While you are waiting, wrap your bamboo scroll in plastic wrap. This will keep your scroll clean and it allows the sushi rice to roll right off the scroll. It doesn't have to be neatly wrapped, just completely covered. You may also use this time to cut up the ingredients you will use. The pieces you will place in your sushi needs to be very long and skinny because they will need to extend the entire length of the roll while not making it too fat. I would say to make the width of your ingredients (crab, cucumber, etc.) no bigger than 1/4-1/2 the size of a dime. The more ingredients you have, the smaller width you need.

Next place a seaweed sheet on top of the wrapped bamboo scroll. The seaweed sheet will be brittle and dry so be careful when handling it.


Next, wet your hands & place the cooled sushi rice on top of the seaweed and press it to cover the entire sheet. Make sure the seaweed isn't showing through because this will be the outside of the sushi roll. If you don't wet your hands before pressing the rice down, there will be 10x more rice on your fingers than on the seaweed, trust me, speaking from experience! It should look something like this:


Turn the seaweed over so that the side with the rice is face down on the bamboo scroll so that you can put the other ingredients inside the roll. Place a small amount of rice on this side of the seaweed sheet, so that the inside of the roll will be slightly sticky. Don't put very much or you will make the roll to thick.


Next place your desired ingredients about 1/2 an inch above the bottom of the seaweed sheet. This can be whatever ingredients you want, just make sure to not use to many. If the roll is to fat, it will not be able to touch when rolled and it won't stick together. Here I used crab, cucumber, & cream cheese.


Now, roll your sushi together inside the bamboo scroll, pressing it together as you roll. This may take some practice, but it fairly easy once you get the technique down. 


Once you have rolled the sushi it should look like this:


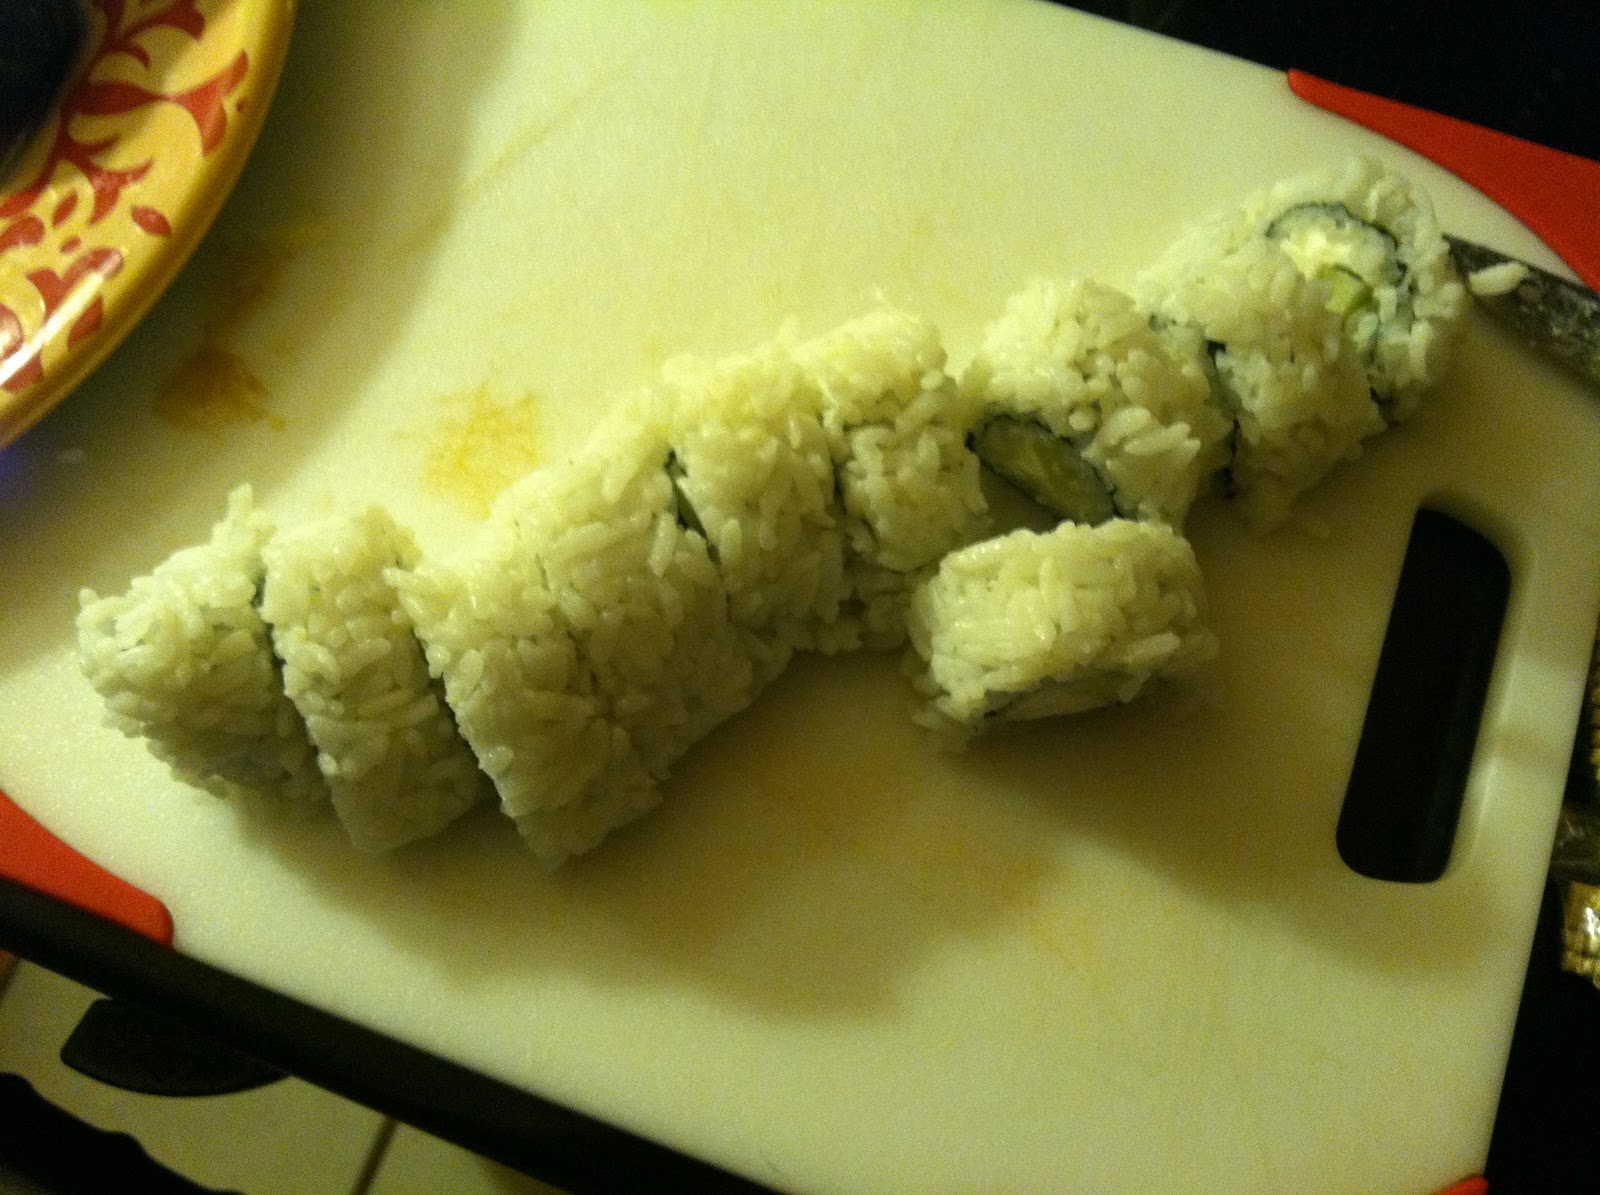
Next place the sushi on a cutting board or plate and cut it into individual pieces. Don't press your knife strait down (this will squish your roll), instead use a back and forth cutting motion. Here are some pictures of my finished product (please ignore the soy sauce I spilled on my cutting board!):


Once you are finished, you are ready to enjoy your sushi! I like to dip mine in soy sauce that is mixed with wasabi to give it an extra kick :)

If anyone has any ideas for ingredients or wants me to try and make a certain type of roll, leave a comment. Also, if you need clarification on any of the steps, feel free to ask! I hope yall enjoy your sushi!

Thursday, December 15, 2011

Moss Letter

I hope everyone is enjoying your day :) I am currently sitting in my office listening to Christmas music so it has definitely been a successful day! Today's post is about something I made for my wedding (you are getting a sneak peak!). Let's get started.

Here is what you need:
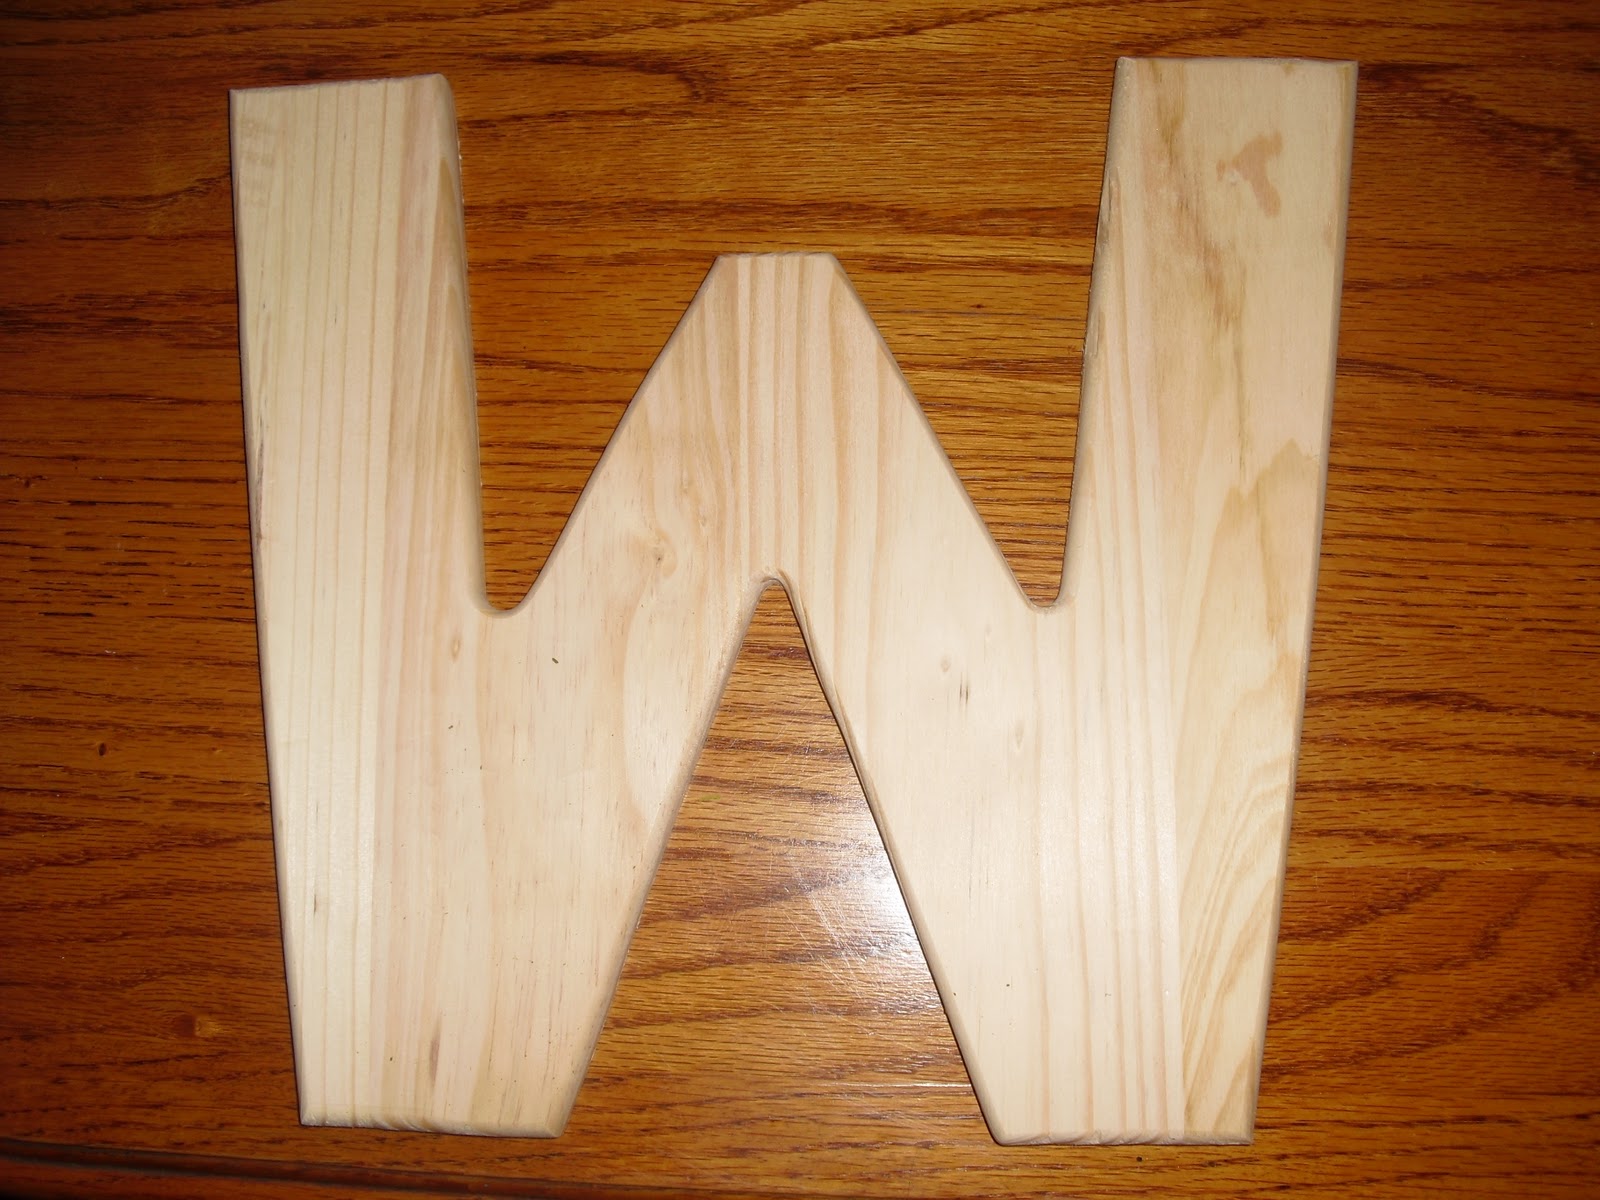
-Wooden Letter (sized to your preference)


-Moss
***For the moss you can use either sheet moss or bagged moss. Sheet moss is easier to work with but I wanted my letters to have some depth so I used bagged moss


-Hot Glue Gun
-Glue Sticks (ALOT... I used almost a whole package)

*DISCLAIMER: This project is VERY messy. The moss is really easy to sweep up afterwards, but just forewarning :)

This project is as easy as it gets. Take a handful of moss, put some hot glue on the letter, and stick the moss on there. Repeat this until the letter is covered. Easy right?

Here are some tips:
-Only do about a 1 inch x 2-3 inch square at a time. If you do anymore than that your glue will dry to quickly and the moss won't stick very well
-Instead of doing large circles of glue, make long diagonal lines on your square. You want your glue to be spread out, not tall.
-Hold the moss down for about 30 seconds before moving onto the next section, this will ensure optimal sticking!
-Use some regular kitchen sheers to trim the moss a little after you are finished. If you don't do this, your letter will have a moss fro :)

Here is the finished product:


These letters can be placed on a fire place mantle or ribbon can be stapled to the back and they can be hung like a wreath. Look for pictures of these at the wedding :) Happy crafting!

UPDATE: Here is a picture from my wedding of the letters. They looked great against the wood doors. Thanks to Endless Exposures Photography for the picture!


Wednesday, December 14, 2011

Mini Buffalo Chicken Eggrolls

Hello All!

We all know how much I love food so it should be no suprise how much time I spend on Pintrest looking at recipes. As I was browsing one day I found a recipe for buffalo chicken egg rolls that I had to try. They are baked instead of fried and the chicken has no breading, making them a tasty but lower calorie snack. The original recipe was for full size egg rolls, but since Huntsville has little variety in the grocery department and egg roll wrappers were non-existent, I had to improvise a little. I hope this tutorial has enough pictures to help even the most cooking challenged. Once you get the rolling down, I promise you this recipe is easy!

Ok, to start off, here is what you need:
-2-3 chicken breasts shredded
-buffalo chicken sauce (you can use the mild sauce for a spicier version)
-wonton wrappers (these are available at any grocery store near the tofu)
-cole slaw mix (try to find the smallest package of this possible or you will have quite a bit left over)
-crumbled blue cheese or feta cheese (I used feta cheese but blue cheese would work equally as well, it just depends on your taste preferences)

**To make the shredded chicken, boil chicken breasts in just enough water to cover the breasts for about 12 minutes. You can also boil the chicken in chicken broth to give it a little more flavor. Let the chicken cool and then shred it with a fork.**

Put your shredded chicken in a bowl and mix it with the buffalo chicken sauce. I used about a 1 cup but you can add as much or as little as you want depending on test preference. The meat will absorb most of the sauce immediately and even more while it's cooking so add more to keep the meat moist if needed.


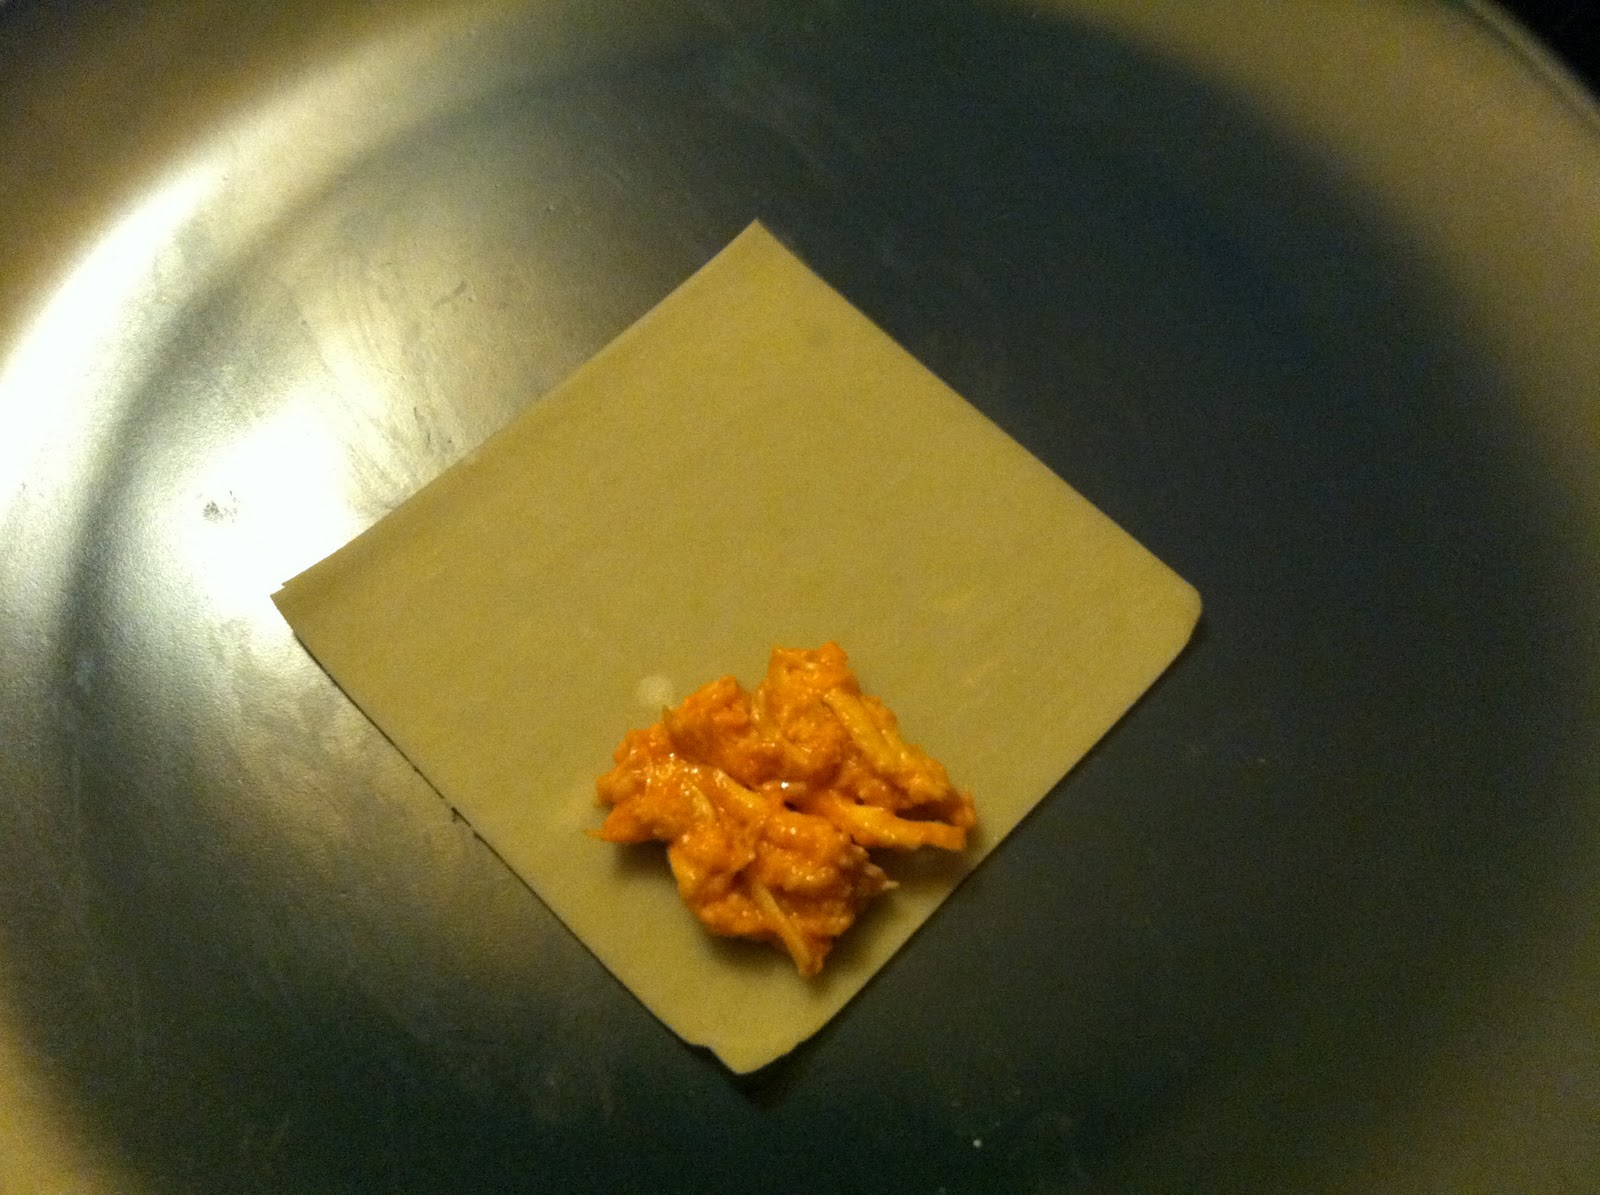
Next, lay out your wonton wrapper on a clean surface. I used a plate, which you can see in the second picture.


Add about 1/2-1 tablespoon of the buffalo chicken onto the corner of the wonton wrapper. Once you get better at rolling your eggrolls, you can add more chicken, but for now, be conservative with space.


Next, add a few strips of the coleslaw on top of the chicken. This will give your egg rolls a little crunch!


To finish up the inside, sprinkle the top of the chicken & cole slaw mix with some feta (or blue) cheese.

Now the fun part begins, its time to roll the eggrolls! Don't get discouraged on your first try, this takes a little practice. My first couple egg rolls looked more like blobs but I got the hang of it on about the third try. Fold the bottom corner of the wrapper over the filling so that it is pointing toward the center.


Next, fold the bottom left corner over and toward the upper right hand corner. Fold the upper right corner downward and toward the bottom left corner, forming the beginnings of an envelope. If that just confused you, look at the pictures :)


Continue to roll the wrapper until you have your eggroll. To seal it, wet your finger in a small bowl of water and gently rub the water onto the top corner (the only corner visible in the above picture). Bring that corner down over the filled roll and press it to seal. Your finished product before baking should look like this:


Repeat this process with the remaining wrappers and filling and place your egg rolls on a cookie sheet.


Spray the tops of the egg rolls with cooking spray (don't drench them, just give them a little mist). Bake the eggrolls at 400 degrees for about 12 minutes. They should be crispy and slightly brown. Here is my finished product, you can see how some of the sauce spilled out the sides.


Being the true Texan that I am, I dipped my eggrolls in ranch. Daniel ate his plain, maybe because he is from Louisiana, who knows. They were so good, they even put my dog in a food coma


I hope you enjoyed this recipe, there will definitely be more to come. If anyone has any requests, leave them in the comments section. Happy Eating!