Monday, January 7, 2013

Anniversary Weekend & Many Thanks

How is everyone doing this fine Monday morning? I'm doing great, and let me tell you why.

Yesterday was the official taste tester & I's first wedding anniversary. We spent the weekend at the hotel we stayed at on our wedding night and visited each one of our favorite restaurants, including the one we had our rehearsal dinner at. Through out the weekend, we mostly spent our time just talking and planning out our dream home that we hope to one day live in. Last night, we ended the weekend by eating the top of our wedding cake and drinking some sparkling Cranberry juice. :) It was the perfect weekend with the perfect man and we are so happy to have been married one year.

Another thing we discussed is the fact that we have been blessed with so many wonderful people in our lives. We have a great support system that continually encourages us and we are so thankful. We wanted to take this opportunity to publicly acknowledge all of you and everything you do. None of your hard work goes unnoticed and we love you!

We can't wait to spend the next year and many more to come together and we hope all of you can remain apart of our lives. You are a wonderful blessing to us! In closing, I'd like to include a couple pictures to highlight our year together. Hope you enjoy!

This is us on our wedding day:

This is on our honeymoon:

This is us at an Astros Game... our presence did not help their record:

6th month anniversary dinner date:

This is us at a Carnival, on the Ferris Wheel:

Seeing Eve 6 in concert (and getting a signed CD!!)

The many SHSU games we attended:


Halloween (I was a peacock and Daniel was Brutus):

Our first anniversary cruise:


First Anniversary Weekend:


Sunday, December 16, 2012

No post this week

Hey everyone! The hubby and I will be sailing into paradise this week to celebrate 1 year of marriage so there will be no post. ;) Sorry... Cooking from the Caribbean just isn't an option! I hope y'all have a great Christmas and I can't wait to see you after!

Happy Crafting
& Cooking!

Candice
Friday, December 14, 2012

Migas


Hi everyone! How are you all doing? I'm all smiles because my graduate semester is over :) To celebrate that and the fact that the hubby & I are about to go on our first anniversary cruise, I'm going to teach yall how to make Migas. I first had this when I started working at the university library when I was a freshman in college. There was a women I worked with that used to make it all the time and I loved it! A couple of weeks ago, one of my friends from high school suggested this as a blog post and I thought it was a FANTASTIC idea! :) Thanks to Hilda for introducing me to this and thanks to Rashell for suggesting it now!

For those of you who don't know what Migas are, it's a Spanish breakfast dish that is super easy to make. Now, admittedly, this is the Tex-Mex version of Migas, but hey, it's still good!

The best part about this recipe is that it only takes about 10-15 minutes total to make, not to mention it's nice to sometimes have something different in the morning! This recipe is for a fairly big serving so if you are by yourself just use less ingredients.

Also, you will notice that I just put "vegetables" as an ingredient. Migas are kind of like an omelet, meaning that you can put whatever vegetables or meat that you want into it. When I make this, I use whatever I have in the fridge! This dish would be great with some bell peppers mixed in, don't you think so?!

Ingredients:
8 corn tortillas
10 eggs
4 Tbsp. vegetable oil
Vegetables (I used onions and tomatoes because that's what I had in the fridge)
Salt & Pepper to taste

To start off, heat your vegetable oil in a large skillet on medium heat for about 3-5 minutes. During this time, cut your corn tortillas into bite sized pieces. This doesn't have to be exact at all! Here is a picture of mine:

 
Once your oil is nice and hot, throw your corn tortilla pieces in and toss to coat. Leave your corn tortillas cooking for about 5 minutes, stirring occasionally. The goal here is to make the corn tortillas kind of crispy. While my tortillas were cooking, I cut up the vegetables I was using and threw them in the skillet as I went. Make sure you put the vegetables in order of how fast they cook. Since I was using onions and tomatoes, I cut up the onions and threw them in and then cut up the tomatoes and threw them in. By this time, my tortillas were done. Here are some pictures:


While your tortillas and veggies are cooking for the last minute or so, crack your eggs in a separate bowl and beat them with a fork. Once your tortillas are somewhat crispy, pour your eggs directly into the skillet and scramble them. This is the time to salt and pepper everything. Here are a couple pictures through the cooking process:


Once your eggs are scrambled you are done!! I served mine with a side of Picante sauce and a side of Chile sauce, it was AWESOME! I also served some crescent rolls with it. To make it even more authentic, serve your Migas with some refried beans. Here are some pictures of the finished product!


Happy Cooking
& Enjoy!!!

Leave your comments below!
Thursday, December 6, 2012

Lasagna

Happy Thursday everyone! Today we are making something that is easy to put together and is a nice alternative to all that turkey and ham you are about to eat during the holidays. :)

Who loves Lasagna?! I do! AND I love making it because we have left overs for the next couple days. It's awesome to have a hot lunch and not have to worry about dinner the next day. Hey, even food bloggers like a day off ever so often.

Just to apologize in advance, we were hungry and ate this before I got a chance to photograph it SO the final pictures are less than desirable :) sorry about that!

Ingredients:
12 oven ready lasagna noodles
Pasta Sauce or a large jar of Spaghetti sauce
1 pound Ground Turkey Breast (Regular version: Ground Beef)
15 oz. container Ricotta Cheese
2 1/2 cups Mozzarella Cheese
1 cup Parmesan Cheese
1 egg
1 Tbsp. Dried Parsley flakes

To start off, preheat your oven to 350. In a large skillet, brown your ground turkey over medium heat, and then stir in your pasta sauce. Turn your burner to low to allow the pasta meat/sauce to stay warm while you prepare your other ingredients.

In another medium sized bowl, combine your ricotta cheese, 1/2 cup of your Parmesan cheese, 1 cup mozzarella cheese, your egg, and the dried parsley flakes. Stir until incorporated and set aside.

Take a 13x9 pan and spray it with nonstick cooking spray. Take a ladle and spoon some of your pasta sauce mixture into the pan (just barely enough to cover the bottom of the pan).


Next layer on 3 lasagna noodles.


Then cover your lasagna noodles with some of your ricotta mixture (as much or as little as your like, the official taste tester LOVES ricotta so we use a ton).


Once this step is complete, spoon more of your pasta sauce mixture on, and continue the layering process until you run out of noodles, ricotta mixture, and pasta sauce.

(2nd layer sauce)
 
(2nd layer noodles)

(2nd layer ricotta)

and so on and so on until you have (drum roll please)...
 

DADAAAAAAAAAAA! I know, I know. In the picture it still looks the same as the first layer, but under that sauce is 4 AWESOME lasagna layers :)

P.S. if you run out of ricotta or sauce before you run out of noodles, just do less layers. The lasagna police won't come after you, I promise. :)

Once your layers are complete, top the lasagna with your remaining mozzarella and Parmesan cheeses. It should look like this:


YUM!

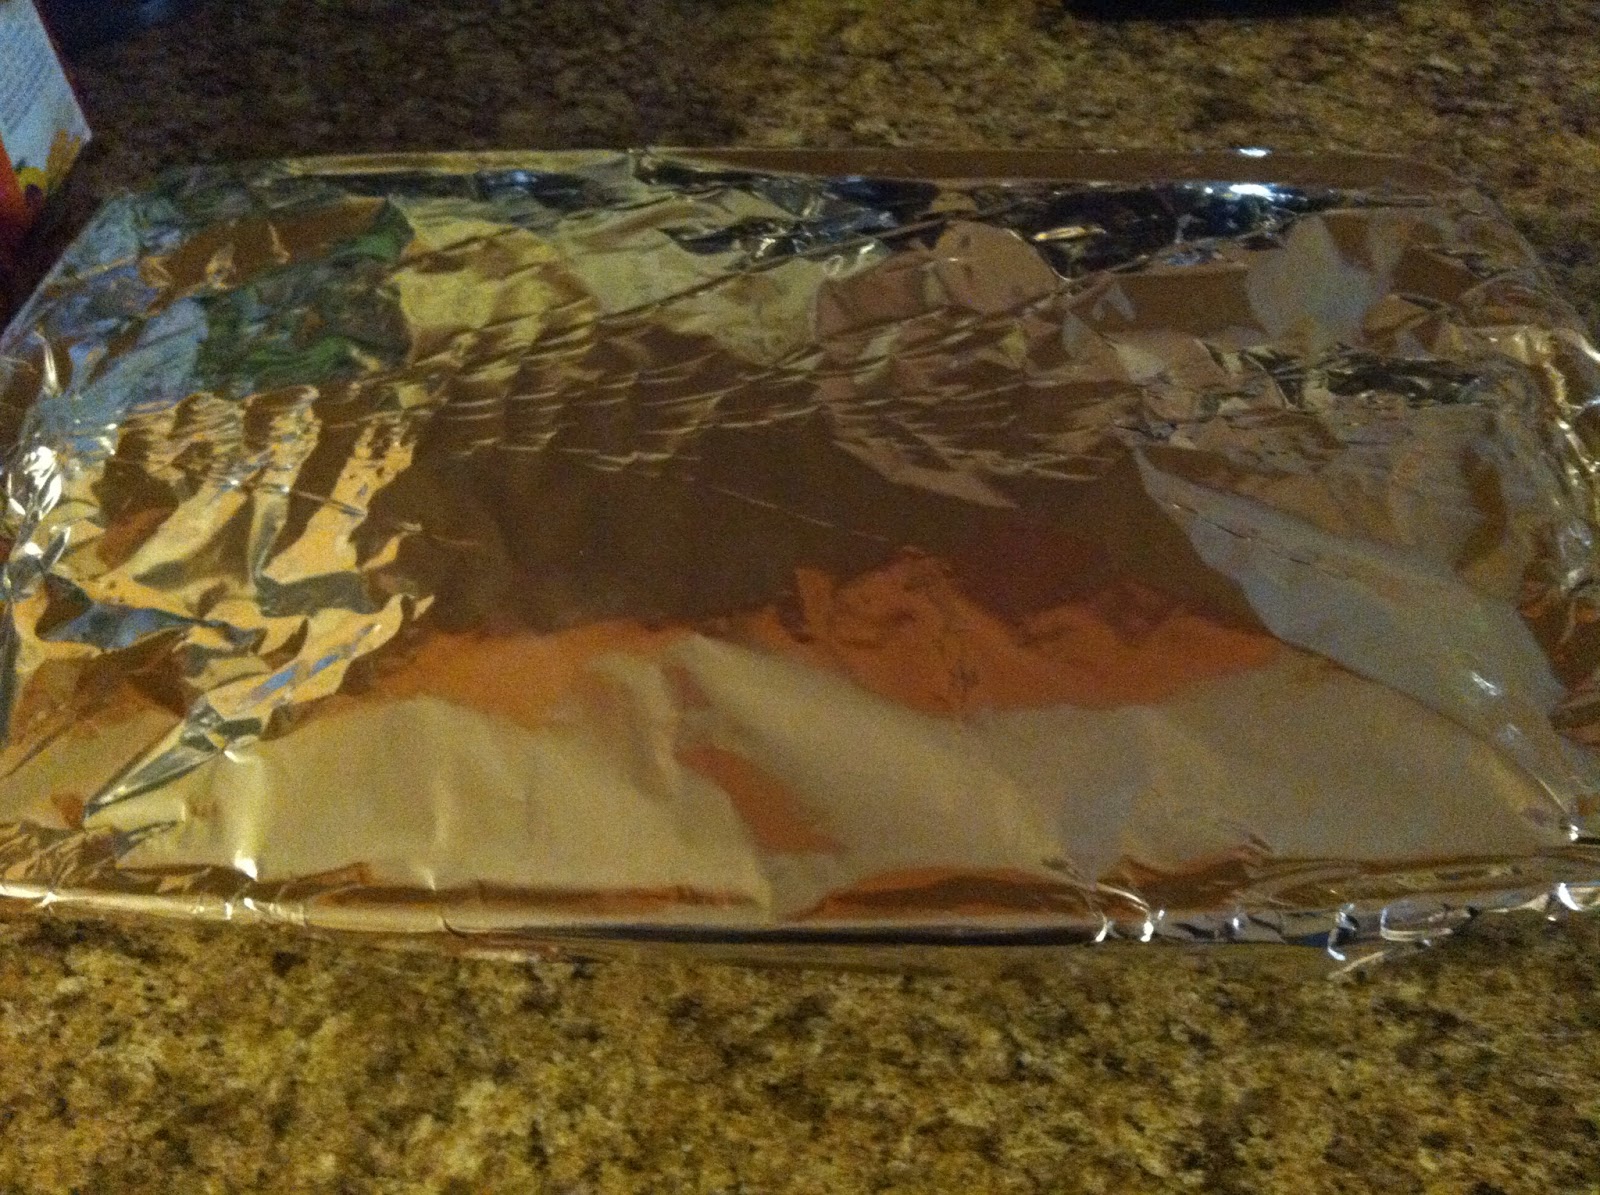
Now grab a piece of foil that is big enough to cover your 13x9 pan. Spray the bottom of it with non-stick cooking spray (so the cheese won't stick) and cover you pan.


Bake your lasagna for 45 minutes and then remove the cover and bake it for an additional 15 minutes. Here is what your final product looks like (and by final product I mean the next day when I remembered to take the picture... sorry I don't have one of the whole thing!):


There ya have it, the most awesome homemade lasagna you will ever taste! I served mine with some garlic bread and a Caesar salad for the perfect Italian meal. :)

Happy Cooking
& Enjoy!!
Wednesday, December 5, 2012

National Christmas Cookie Recipe Exchange Day

Hey everyone!!

Today is National Christmas Cookie Recipe Exchange Day! What are your favorite Christmas cookie recipes? Leave your answers in the comment section below and your recipe may be featured on the blog!
Friday, November 30, 2012

Sopapilla Cheesecake Pinwheels


Hello everyone :) Happy Friday!! I thought we could start out our weekend with an excellent little dessert. Trust me, these are awesome! :)

There is NO WAY this recipe can be healthy, but by substituting the Neufchatel cheese for Cream cheese you save yourself some calories. Check out why this substitution is AWESOME here

Ingredients:
1 can Crescent Rolls
1 package Neufchatel Cheese, softened
1/4 cup sugar
1/2 tsp. Vanilla
Cinnamon & Sugar
Optional: 1 Tbsp. Butter

To start off, spray a piece of foil with nonstick cooking spray and unroll your crescent dough onto it. You DO NOT want to tear it into triangles, leave it in one big sheet. If your crescent dough starts to break apart, just push it back together with your fingers. In a small mixing bowl, stir together your neufchatel cheese, sugar, and vanilla. Once mixed, spread this mixture over your crescent dough. Next, sprinkle cinnamon & sugar on top of your cream cheese mixture. There is no specific amount to use of this, just however much you like! I LOVE cinnamon & sugar so I used quite a bit :) See pictures below:


Now, roll your crescent dough up into a log (long-ways... or hot dog style for my visual learners ;)). It should look like this:


Now, wrap your log up in the foil and stick it in the freezer. I left mine in there while I cooked dinner which turned out to be about an hour, but you don't have to do it this long. You just want your log stiff enough so that it doesn't squish to much when you cut it up.

Preheat your oven to 350. Once your log is stiff, take it out of the freezer and cut it into small pieces ( about 1/2 in thick). I placed mine on parchment paper, but you can just use a regular cookie sheet if you don't have any. Here is what your pieces will look like:


Now for the optional step. If you so desire (I desired!) you can melt a tablespoon of butter and brush it on top of your pinwheels to make them a little more flaky. This step is completely optional though.

Bake your pinwheels for 12-15 minutes or until golden brown. Here are some pictures of your finished product:


These are awesome with some honey drizzled on them as well. :)
 
Happy Cooking
& Enjoy!!


Wednesday, November 21, 2012

Loaded Baked Potato Casserole


Alright guys, confession time. I hate casseroles. Seriously, the thought of a casserole grosses me out. The thought of multiple ingredients mixed together in 1 pan is just not my thing, so when I saw this recipe here I was less than thrilled to try it. To my surprise... this thing is GOOD! Even for casserole haters like me, it's a treat.

Since Thanksgiving is a time when there are plenty of casseroles around, I thought I'd give you another casserole to add to your arsenal. Plus, this recipe is really easy!

Ingredients:
1/2 bag Shredded Frozen Hash browns
16 oz. Sour Cream
1 packet Dry Ranch Mix
3 oz. bacon bits (or about 10-12 slices cooked & crumbled bacon)
1 cup of your favorite cheese (I used Colby Jack)

I used store bought bacon bits in this to save time, but the bacon bits can easily be made from regular bacon strips. Just cook your bacon strips and then crumble them up.

To make this casserole, preheat your oven to 400. Combine all your ingredients in a large mixing bowl and stir until combined. Next, take an 8 x 8 square pan (or a 13 x 9 if you double the recipe) and spray it with non-stick cooking spray. Pour your ingredient mixture into the pan and spread it out evenly. Here is what your casserole should look like:


Bake your casserole for 45 min-1 hour (until the top is light brown & crispy). That's it! You are finished! Wasn't that easy? Here is a picture of your finished product:


Happy Cooking
& Enjoy!!