Hello All!
We all know how much I love food so it should be no suprise how much time I spend on Pintrest looking at recipes. As I was browsing one day I found a recipe for buffalo chicken egg rolls that I had to try. They are baked instead of fried and the chicken has no breading, making them a tasty but lower calorie snack. The original recipe was for full size egg rolls, but since Huntsville has little variety in the grocery department and egg roll wrappers were non-existent, I had to improvise a little. I hope this tutorial has enough pictures to help even the most cooking challenged. Once you get the rolling down, I promise you this recipe is easy!
Ok, to start off, here is what you need:
-2-3 chicken breasts shredded
-buffalo chicken sauce (you can use the mild sauce for a spicier version)
-wonton wrappers (these are available at any grocery store near the tofu)
-cole slaw mix (try to find the smallest package of this possible or you will have quite a bit left over)
-crumbled blue cheese or feta cheese (I used feta cheese but blue cheese would work equally as well, it just depends on your taste preferences)
**To make the shredded chicken, boil chicken breasts in just enough water to cover the breasts for about 12 minutes. You can also boil the chicken in chicken broth to give it a little more flavor. Let the chicken cool and then shred it with a fork.**
Put your shredded chicken in a bowl and mix it with the buffalo chicken sauce. I used about a 1 cup but you can add as much or as little as you want depending on test preference. The meat will absorb most of the sauce immediately and even more while it's cooking so add more to keep the meat moist if needed.
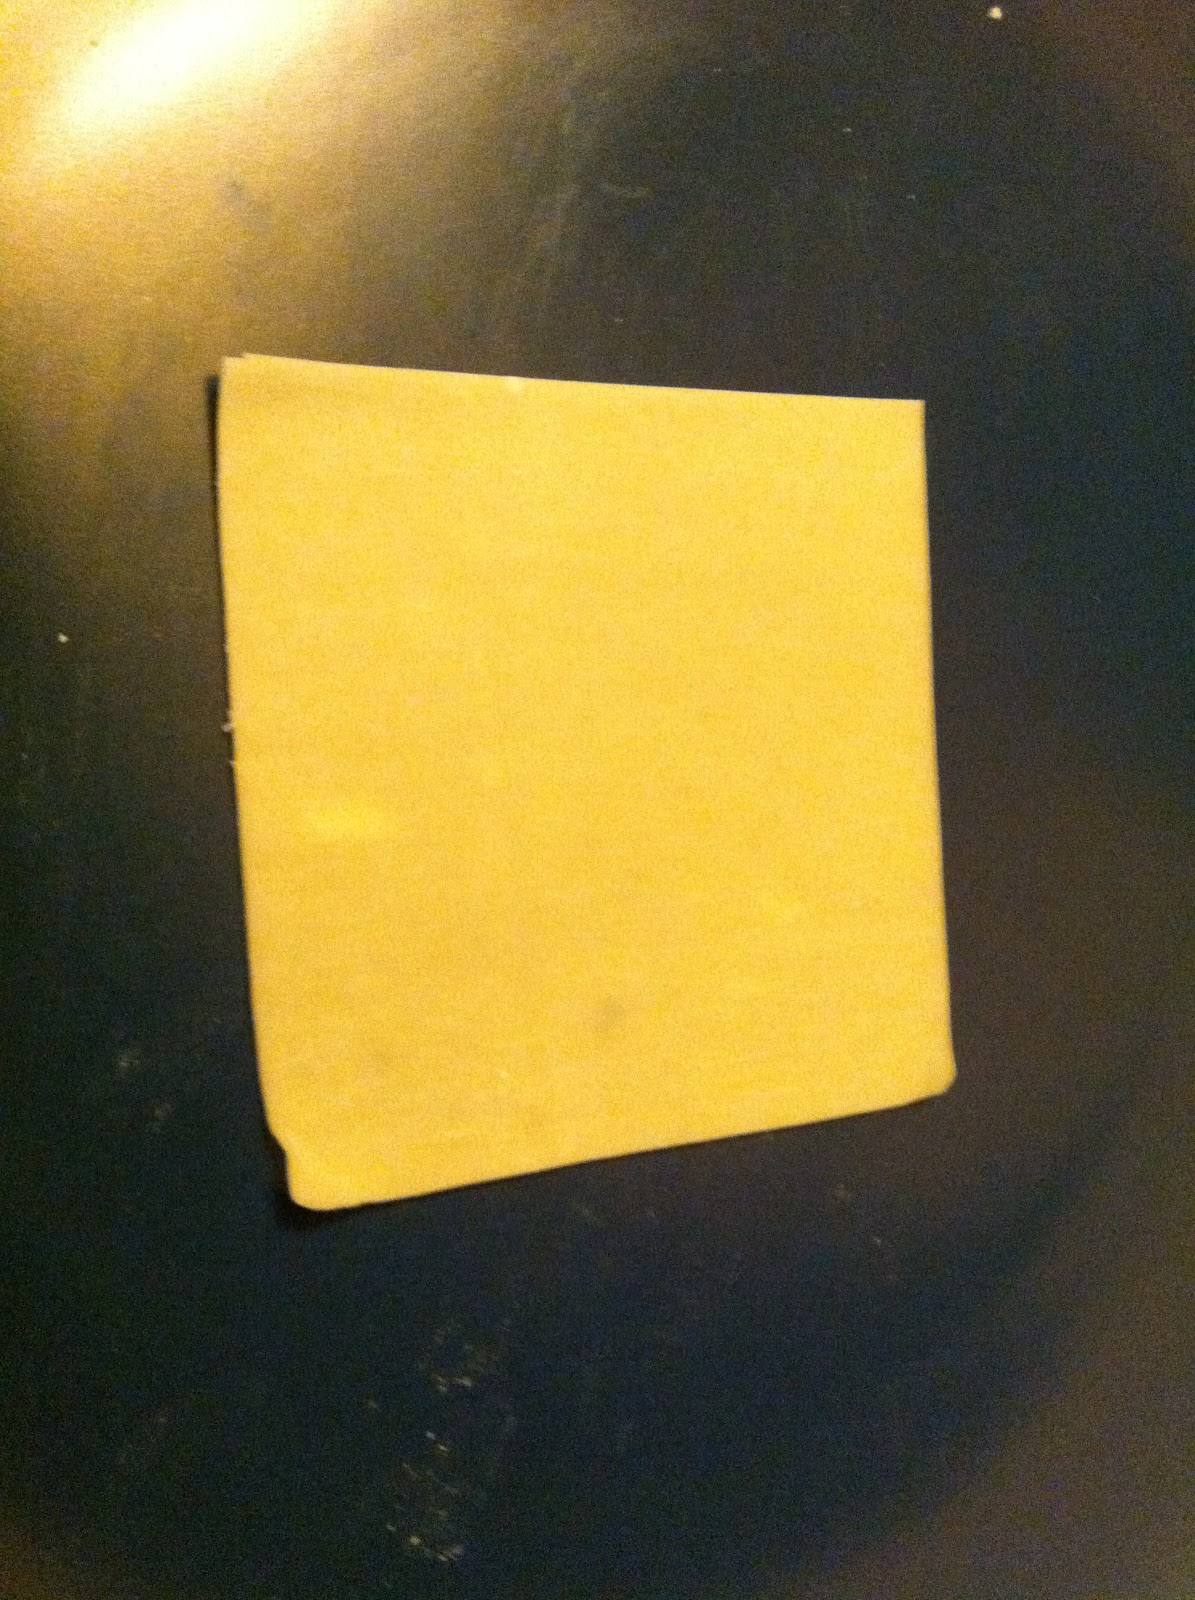
Next, lay out your wonton wrapper on a clean surface. I used a plate, which you can see in the second picture.
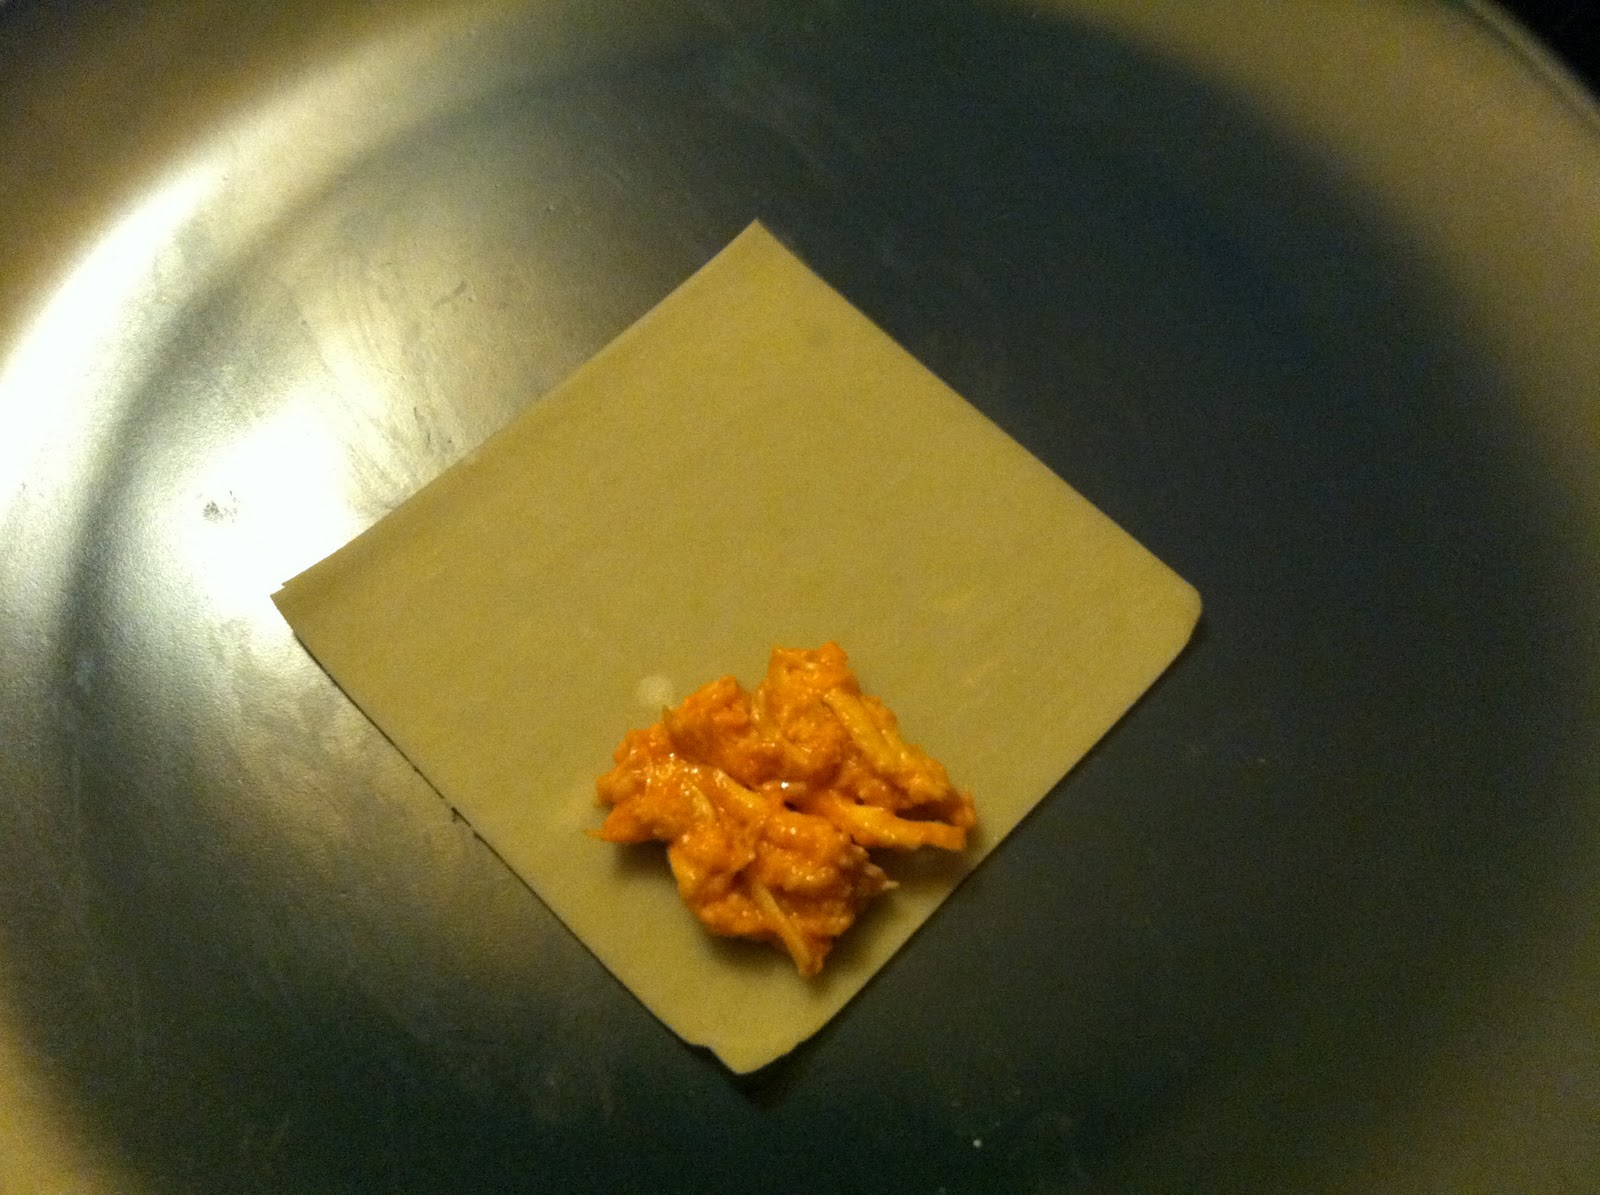
Add about 1/2-1 tablespoon of the buffalo chicken onto the corner of the wonton wrapper. Once you get better at rolling your eggrolls, you can add more chicken, but for now, be conservative with space.
Next, add a few strips of the coleslaw on top of the chicken. This will give your egg rolls a little crunch!
To finish up the inside, sprinkle the top of the chicken & cole slaw mix with some feta (or blue) cheese.
Now the fun part begins, its time to roll the eggrolls! Don't get discouraged on your first try, this takes a little practice. My first couple egg rolls looked more like blobs but I got the hang of it on about the third try. Fold the bottom corner of the wrapper over the filling so that it is pointing toward the center.
Next, fold the bottom left corner over and toward the upper right hand corner. Fold the upper right corner downward and toward the bottom left corner, forming the beginnings of an envelope. If that just confused you, look at the pictures :)
Continue to roll the wrapper until you have your eggroll. To seal it, wet your finger in a small bowl of water and gently rub the water onto the top corner (the only corner visible in the above picture). Bring that corner down over the filled roll and press it to seal. Your finished product before baking should look like this:
Repeat this process with the remaining wrappers and filling and place your egg rolls on a cookie sheet.
Spray the tops of the egg rolls with cooking spray (don't drench them, just give them a little mist). Bake the eggrolls at 400 degrees for about 12 minutes. They should be crispy and slightly brown. Here is my finished product, you can see how some of the sauce spilled out the sides.
Being the true Texan that I am, I dipped my eggrolls in ranch. Daniel ate his plain, maybe because he is from Louisiana, who knows. They were so good, they even put my dog in a food coma
I hope you enjoyed this recipe, there will definitely be more to come. If anyone has any requests, leave them in the comments section. Happy Eating!