

For Christmas I asked for cake decorating supplies. This is something I have been wanting to try for awhile, and finally after getting some awesome goodies for Christmas, I was able to try. My niece was coming into town to visit for the weekend, so I decided to try out my new toys by making her a cake! It turned out pretty cute and I can't wait to try it out again.
I saw this zebra cake idea a long time ago on Pinterest and honestly have no idea where it came from, so I don't know who to give credit to. Whoever came up with this, awesome idea!
Ingredients:
-1Box white cake mix
-Black food coloring
-Ingredients from back of cake box (usually eggs, water, & oil)
-Optional: Parchment Paper
Decorating Ingredients:
-Fondant (you can buy pre-made fondant in the cake decorating section of Walmart)
-Buttercream Icing (recipe toward the bottom of the page)
TIP: If you don't want to waste your time with the black food coloring OR you want a bigger cake, use chocolate cake mix for the black stripes in the cake.
Making a Zebra Cake is actually fairly easy. It doesn't take any longer than making a regular cake and it looks pretty awesome.
To start off, preheat your oven and mix your cake mix and ingredients together as directed on box. Next, separate your cake mix into two separate bowls and add black food coloring to one of them. Use as much food coloring as you need to make it as dark as you want.

Next, set your mix aside, and grease your cake pans. I used two 9 inch round pans, and lined the bottom with parchment paper to prevent sticking. I also sprayed both pans with non-stick cooking spray. I find this method works WAY better than the Crisco/flour method.
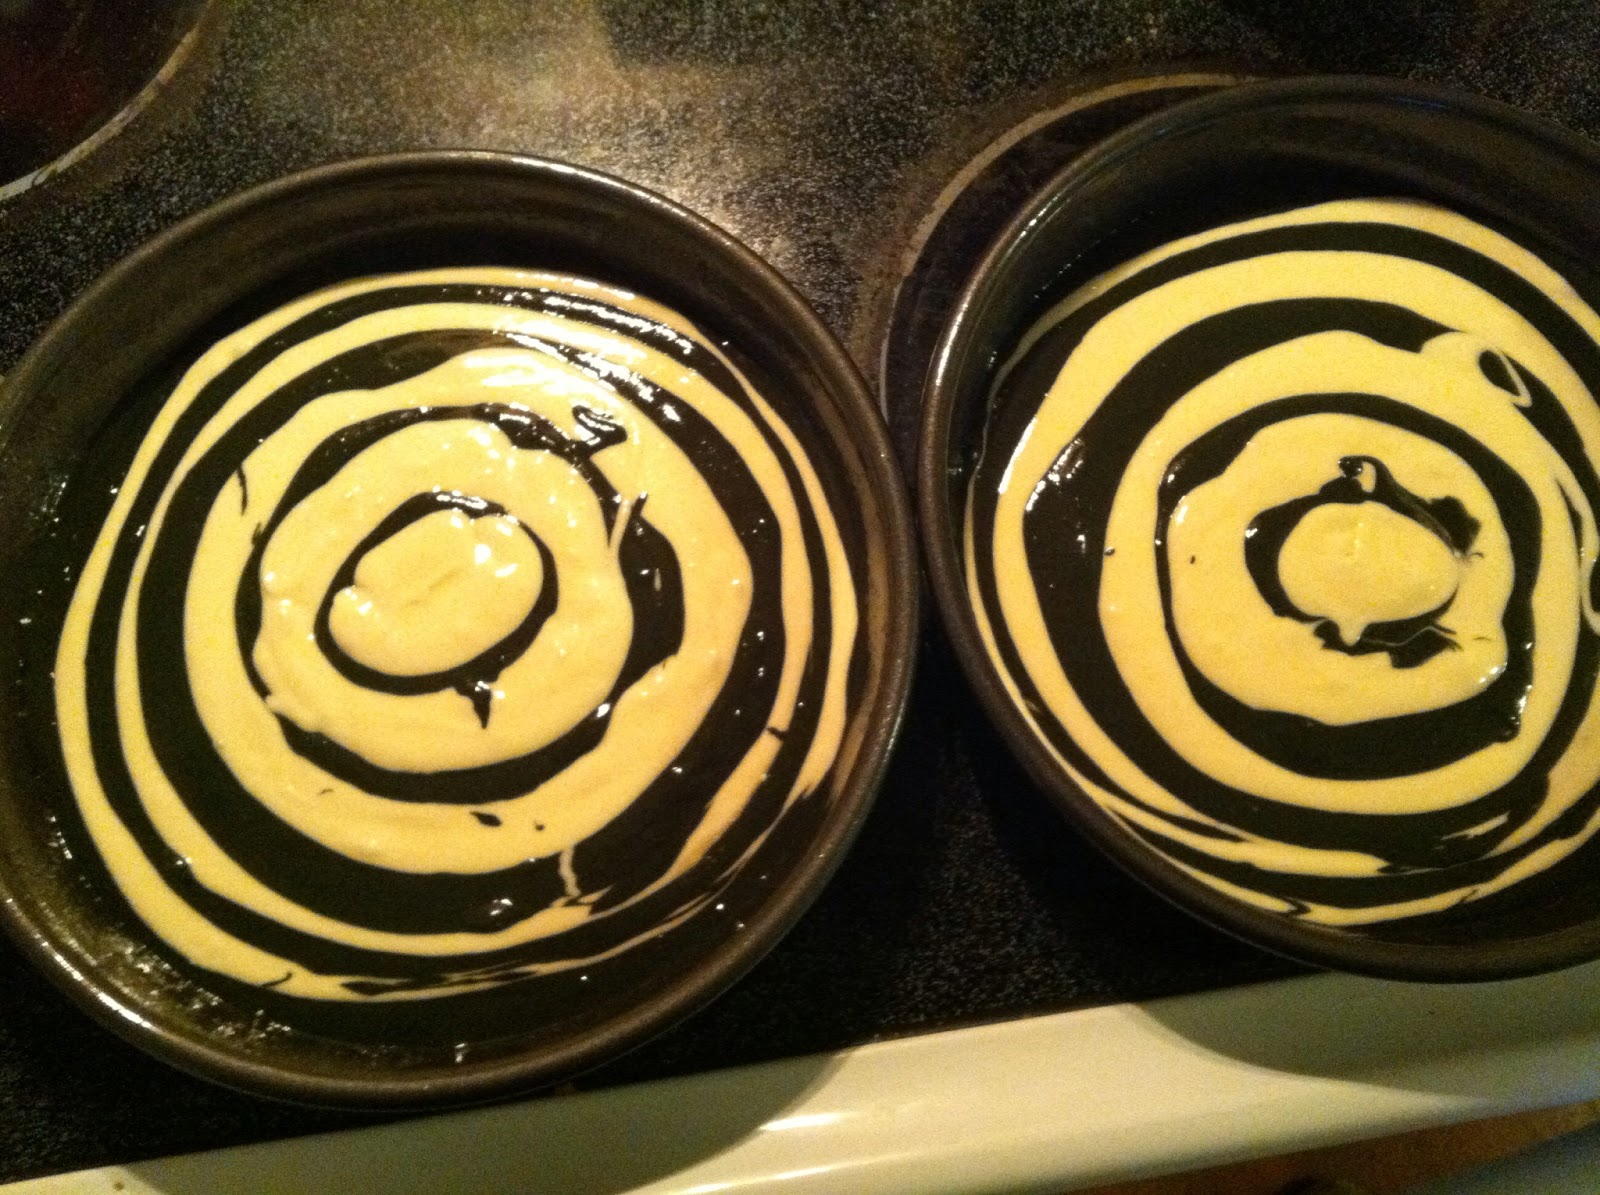
Next, drop about 1/4-1/2 cup of batter onto the center of each pan. It doesn't matter which color you start with, but I started with black.

Next, add the same amount of white cake mix into the center of the black. Repeat this process over and over until you use all your cake mix and have a nice bullseye.


And then after coming out of the oven (Bake according to cake mix directions). You will be able to see the zebra stripes when you cut the cake for serving.

Let your cake cool completely before decorating. Once cooled, you can decorate your cake however your heart desires!
I used buttercream icing and then covered the cake with fondant. To do this, level the top of your cake layers until flat. You do this by cutting off small layers from the top until the cake is level. Here is what mine looked like leveled:

Next, frost your cake by putting icing between the layers and around the whole cake. It doesn't matter is you get crumbs in the icing because the cake will be covered in fondant.

Next, roll out your fondant (about 1/4 inch) and cover your cake in it. Cut off any excess fondant around the edges.

Doesn't that look great already? I wanted to go one step further so I added some fondant to look like ribbon and a bow. As you can see in the picture, I cut the bottom of my fondant a little short, so I added some fondant balls around the bottom to cover it up. I made these by rolling the extra fondant scraps into small balls and sticking them around the edges with some extra buttercream.

Isn't that cute? My dog REALLY wanted some cake at this point, but we had to save it for my niece.

Here is a picture of the cake once we cut into it:

Do you see those beautiful zebra stripes? Pretty cool huh? You can also make this cake into any color Zebra you want. I have made a pink and purple striped cake before.
Here is my niece enjoying the cake, I think it's safe to say it was good. :)

Happy Cooking
& Enjoy!
I love it! I have been wondering how to make the animal prints in cakes... now I know!
ReplyDelete