Thursday, April 11, 2013

Healthy Honey Banana Treat


Hey Everyone! For this weeks recipe, I thought I'd share something that is EASY and somewhat healthy.

For anyone that even remotely know me, you know I love sweets. Before Daniel and I got together and I was on my own, my dinners mostly consisted of candy. What can I say, I can't resist the sweets! SO, this obviously means I need some type of dessert with every meal. Since eating cupcakes and candy every night isn't pleasant on your waistline, I needed to find something healthier.

Also, once I have spent an hour making dinner, I don't exactly want to spend any more time making more food that is just going to make me fatter, SO I knew this recipe needed to be easy. This is also a great recipe to use if you have some bananas that are about to go bad (Thank you No Doubt for teaching me how to spell bananas....now your're singing that song in your head.... admit it!).

Last but not least, I don't like bananas. The texture makes me gag. I'm not sure if it's the honey in this recipe or if cooking the bananas changes the texture but I couldn't get enough of this tasty treat!

Ingredients:
2-3 bananas
Honey
Optional: Cinnamon

To make this, you pre-heat your oven to 400 degrees. Next, cut up your bananas into bite sized pieces and place them on a piece of foil large enough to fold over and create a little pouch. Next, sprinkle your pieces with honey. I didn't measure out the honey because it doesn't have to be exact. Just sprinkle honey on the banana pieces like you would on a piece of toast. The sweeter you want it, the more honey you use. You can also put some cinnamon on them. I originally planned on it, but then I couldn't find my cinnamon and realized we were out (OH THE HORROR!). I wasn't about to go to the store so I just left it off ad they turned out just fine.


Fold your foil over to make a little pouch and place the foil packet into a pan to catch any spare liquid that might escape. You can fold the pouch however you want but the method I found that worked the best was bringing the pieces in the middle together and then folding them together. Then I folded up the sides the same way.

Cook your bananas for 10-15 minutes, or until they are at the consistency you enjoy. You can't really go wrong here. Here is a picture of the final product:


YUM! Jeez, while I'm writing this post I'm getting hungry at my desk!


Happy Cooking!!

This post will be part of the Make Bake Create link up party over at some of my favorite blogs! Go check it out!!
Tuesday, April 2, 2013

2 Meals in 1: Crockpot Pesto Ranch Chicken and Pesto Chicken Spaghetti


Hey Everyone,

Today I thought I'd share a recipe with you that I have really enjoyed. I'm sure all of you have heard of Crockpot Pesto Ranch Chicken and many of you probably have the recipe for it. It's on so many blogs, it would be IMPOSSIBLE to credit everyone and I have no idea who the original source it so I'll just give you a link to Pinterest with many different blog links.

So, why am I talking about this if it's available all over the place. Two reasons:
1. If you haven't tried it, you should because it's really good.
2. If you have never put it in Spaghetti, you are missing out.

Prior to trying this I was just OK with Spaghetti. It was something we had when I didn't feel like cooking because it's so easy. Now after having these two dishes together I love spaghetti! The great thing about this is, you can have the pesto ranch chicken for one meal and then turn around the next night and have it in spaghetti with very little effort.

This recipe happened on a whim one night when I was trying to get creative with leftovers and it turned out really nicely. Olive Garden, take note!

Ingredients:
4 Boneless, Skinless Chicken breasts (still frozen)
6 oz. jar of Basil Pesto
1 packet ranch seasoning
1/2 cup chicken broth
Pasta Sauce or a store bought jar
Spaghetti noodles

To start off, throw your chicken, pesto, ranch seasoning, and chicken broth into the crockpot and cook on low for 6-8 hours.


Once your chicken is done, have some of it by itself for one meal and save the rest for your spaghetti. Of course you can do this all in one day, but who doesn't love getting two meals out of 1? If you have a bigger family, you might need to double the recipe.

OK, now, boil your noodles and cook your spaghetti sauce like normal. Shred your remaining chicken and throw it into your pasta sauce. There you have it, two meals for the effort of one (an easy one at that)!

Here are the pictures of my finished chicken and my spaghetti. Trust me, you want to try this.


YUM!!

Happy Cooking!
Thursday, March 28, 2013

Bloggy Friend: My Breezy Room

Hey Everyone,

I thought I'd share today about one of my newest Blog friends, Kala over at My Breezy Room. I "met" her (well virtually lol) during a giveaway on her page for an Urban Stamp Set that I won! It's very cool and I can't wait to use it for some awesome projects :) Kala has an online party going on now through the end of the Month with the company that the stamp set is through, Close to my Heart. Slip on over to her page and check it out, you wont be disappointed! Here is a picture of the stuff you can expect to see!

Monday, March 25, 2013

BLT Egg Salad


Hey everyone! Sorry it's been awhile since I posted. I have been busy with school and this weekend was my hubby's birthday so I didn't want to take away from his time. Everyone give him a birthday shout out in the comments below, he turned 27 on 3/24!

Today I have an easy recipe that can be used in a variety of settings. I made it one night when I was cooking dinner and we had it as a side dish but it could also be easily used as an afternoon snack or an appetizer at a party. The possibilities are endless! I adapted this recipe from this website, Mark's Daily Apple. :)

This dish is simple and quick! Not to mention it's a great thing to make after you get done dying your Easter eggs this weekend!

Ingredients:
-1 Avocado
-1 Tomato
-2 Hard boiled Eggs (Boil eggs for 10 min to hard boil)
-4-6 strips of Bacon ( I used turkey bacon, but regular bacon will work just as well!)
-Salt and pepper to taste

To start off, cook your bacon strips until they are at your desired crispy-ness. We like ours right in the middle of chewy and crispy which takes about 5 minutes with turkey bacon. Regular bacon will take a few minutes longer because it is thicker.

Next cut up you avocado, tomatoes, eggs, and bacon and mix it together. You can leave the yellow part of your egg in or take it out, it's up to you. I salt and peppered each layer as I went along but you can wait until the end if you would like.


Seriously, this recipe is that easy..... and it's good! The official taste tester doesn't even like tomatoes and he ate this stuff right up. There is something about the avocado goodness that is just irresistible I guess! Who loves avocados as much as I do? AND lets face, everything is better with bacon.

Here is a picture of your final product:


Don't let your drool get on your keyboard.

Happy Cooking everyone!!
Thursday, March 14, 2013

St. Patrick's Day Green Beer


With St. Patrick's Day coming up this weekend, I thought I'd share a lovely little "recipe" with you! Now, I'm not Irish, BUT I love a St. Patty's Day celebration as much as the next girl. I've always thought it was so cool how bars serve green beer, I just never knew how easy it is!

Ingredients:
3-5 drops of green food coloring
1 can or bottle of your favorite beer

As most beer is, this is ALWAYS better in a frosty mug so if you have a mug on hand, stick that sucker in the freezer!

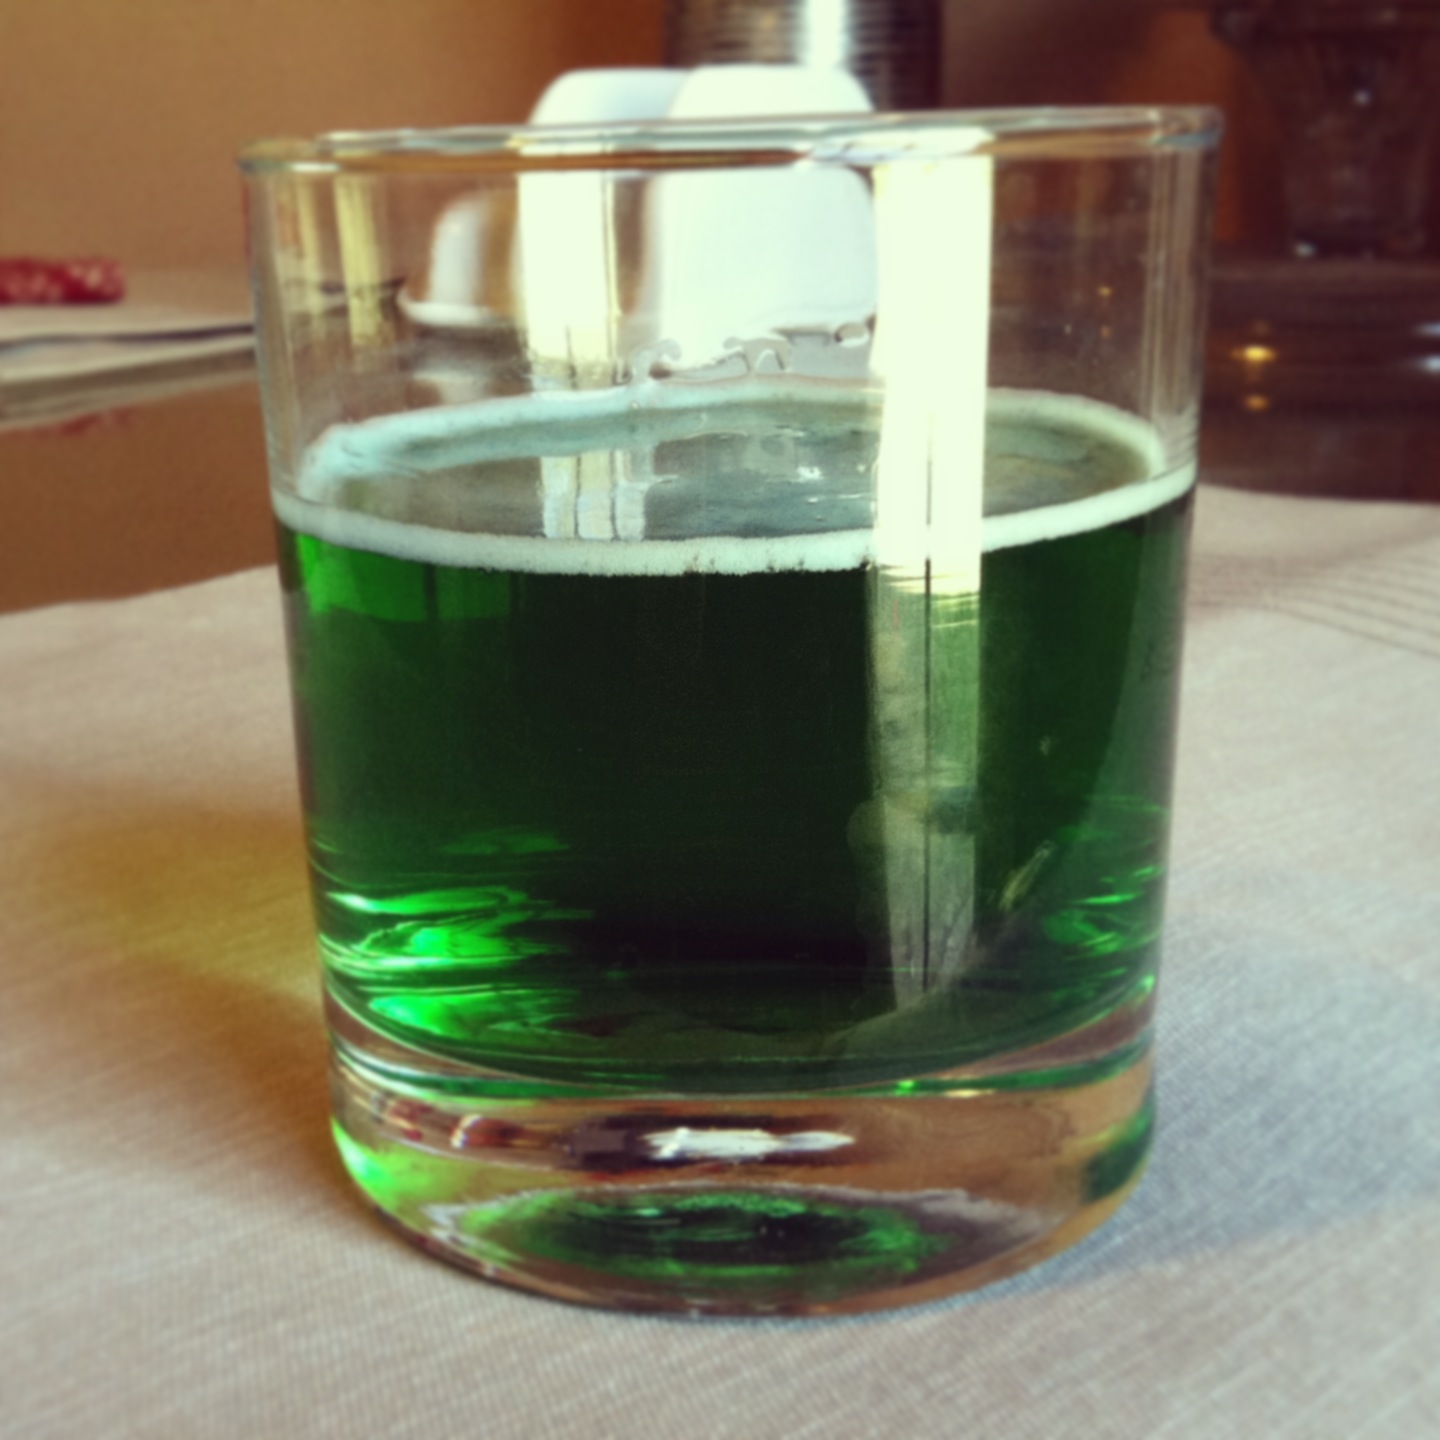
There is really only one trick to doing this: pour the food coloring in first. If you put the beer in first you will end up stirring your beer to mix in the food coloring... which will make it flat. Flat beer is gross PURE DISGUSTING. Just drop your food coloring into your mug and then pour in your beer (at an angle so it doesn't get foamy!!).

It doesn't matter if you use light or dark beer, you will just have to use more food coloring for darker beers. I used Leinenkugel's Lemon Berry Shandy since it's pretty much the best beer I have ever had. Seriously, you should try some ASAP. I think it's a Polish beer so if you want to be a little more authentic, you should probably use something Irish (but it's my fav!!!). I also did one with Miller Lite, they both looked the same.


Anyways, here is a picture of your final product.


I didn't have a real mug so I used the one I have from when I visited Harry Potter World at Universal Studios in Florida (hints, the ButterBeer logo). I felt VERY grown up drinking beer out of a Harry Potter cup. :)


These would be great to make at your St. Patty's Day party!

Have a safe and fun St. Patty's Day Celebration!!!
Wednesday, March 13, 2013

Follow us on Instagram

Hello All!

I have recently created an Instagram account for my blog to share even more photos and upcoming recipes with you. :) Please follow me! My username is @AllThingsWalker

Thursday, March 7, 2013

EASY DIY Home Decor

 
Happy Thursday! I hope everyone is enjoying their week.... and looking forward to Spring Break for those of you involved in the school system (**Happy Dance**).

Today I'm going to share with you a project that is SO EASY. It's seriously 3 steps. I saw this on Pinterest at one time but I have no idea where the original pin came from. If you know, let me know so I can give credit!

Some things you know about me:
1. I love to monogram everything/ put my new initial everywhere
2. I love the color green (see my wedding)
3. I love projects that are easy

SO with those three things in mind, let me introduce you to the easiest project ever.

Supplies:
-Wooden Initial
-Wooden Frame
-Spray Paint

Remember how I said this project had three steps?
1. Buy your supplies
2. Paint your letter and frame
3. Hang it on your wall.

I guess technically you could say buying your supplies is multiple steps because I got my letter from Hobby Lobby and the frame from Micheals..... but thats just a technicaility.

You don't have to go get an expensive pretty frame. Almost anything looks good with a little spray paint on it. I think the frame I used was $2-3.

I didn't include any step by step instructions because I didn't think it was really necessary. Here are some pictures after the painting.


And the final product on my wall. Sorry the pictures are dark, I took them at night!


Isn't that cute?

Happy Crafting!!